Tag: inquiry

  • Teaching Portfolios: Example of My Portfolio

    Sometimes the best way to work out what you need in a portfolio is just to see what someone else has done.

    So I’ve taken a series of whole screen screenshots to show off what I’ve done. It’s not necessarily the best portfolio in the world, or at all what you do. But, it is what I have done, and have been adjusting and trying different things with time.

    Introduction
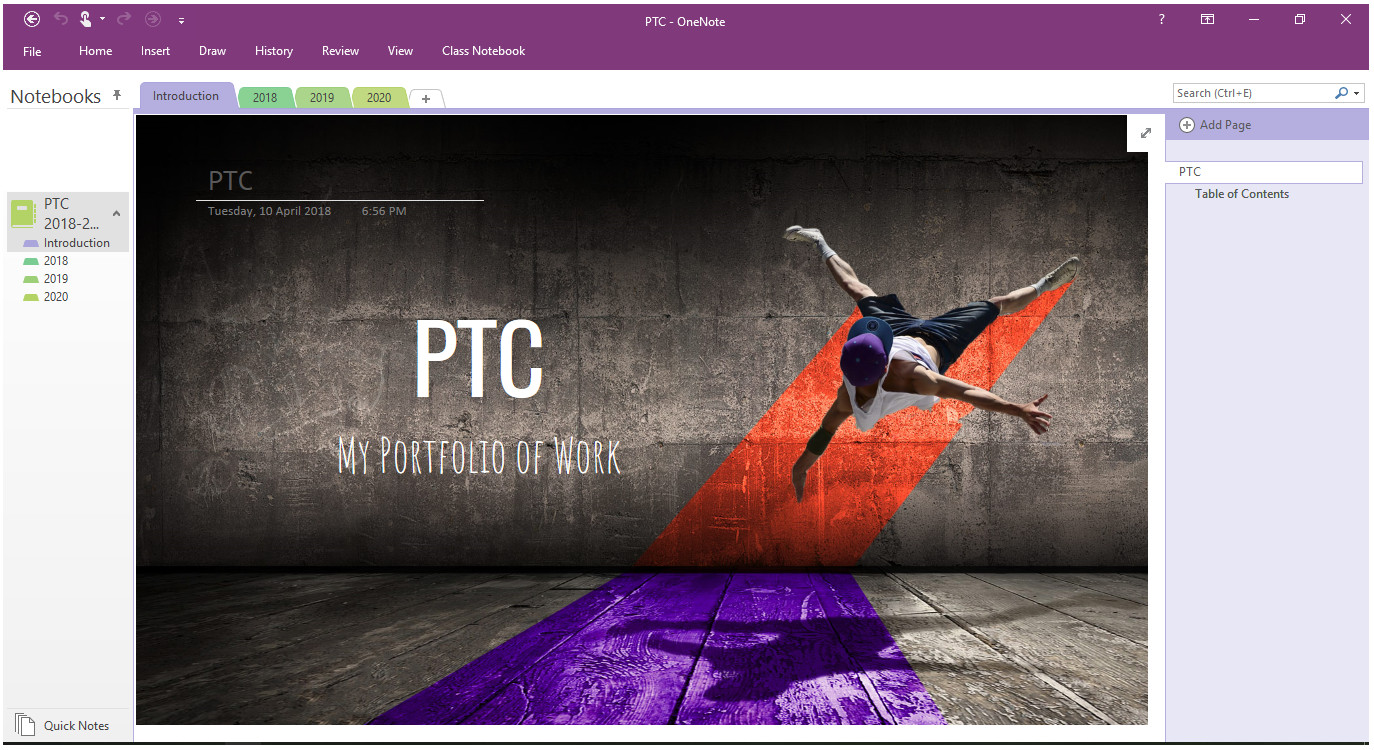
    Title Page

    I’m not sure why, but I made a title page for my portfolio. It just seemed like something that I could do to include some of my graphics design skills.

    Table of Contents
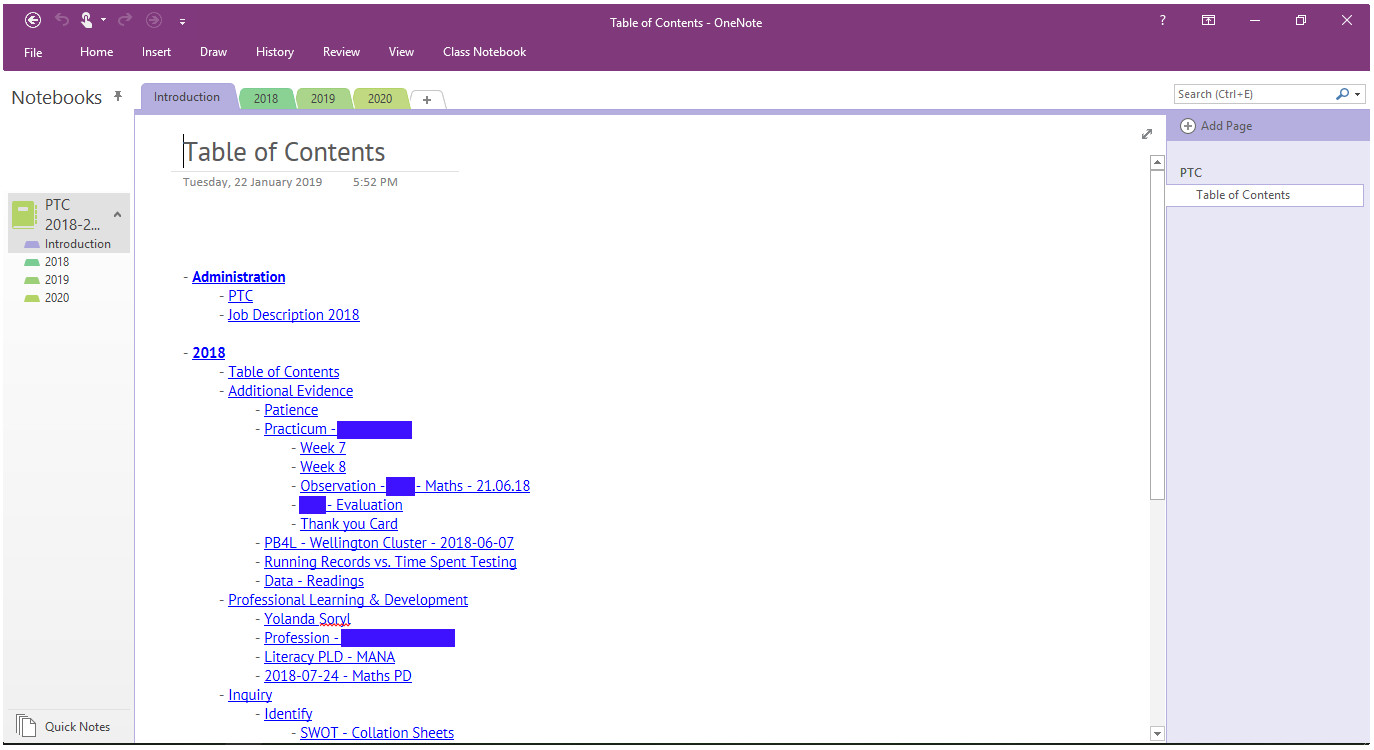
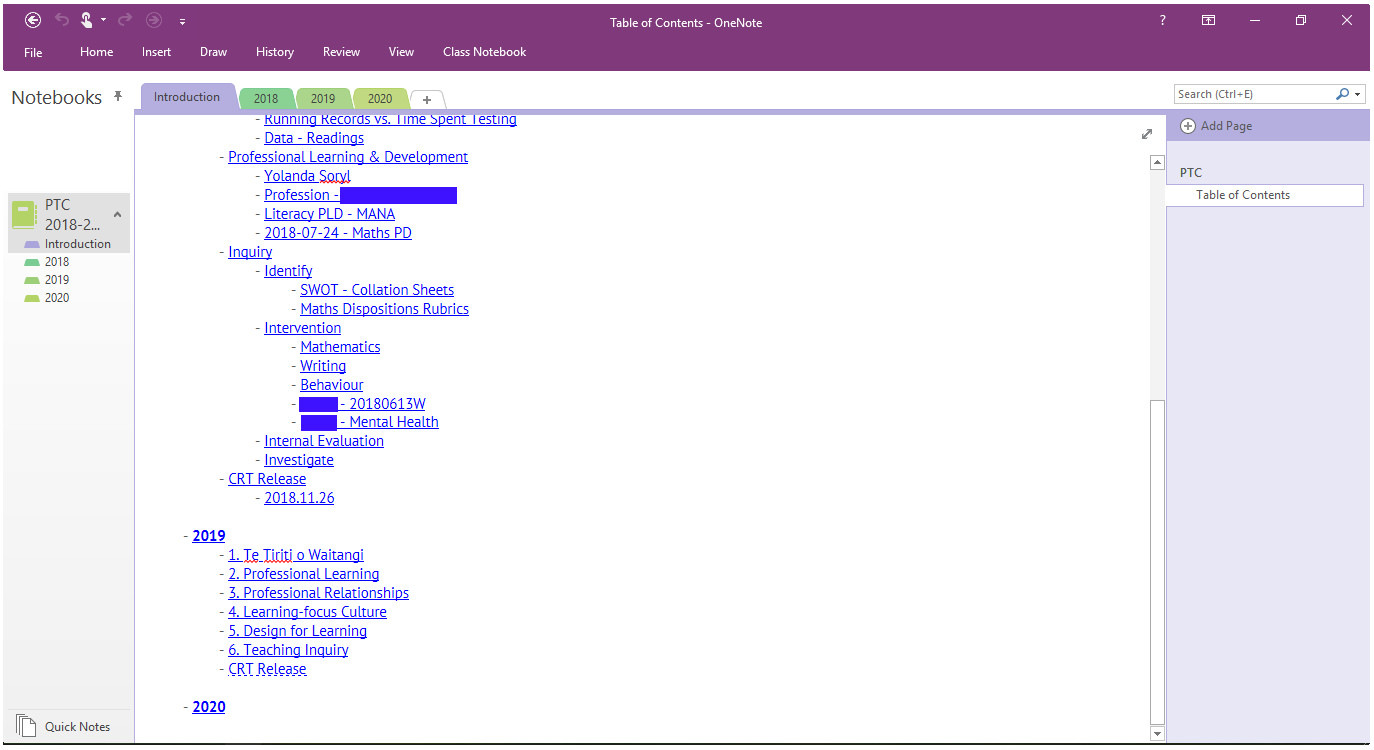
    A Table of Contents with all the pages for my portoflio listed

    I used a downloaded macro that creates a list of the pages in an indented list.

    In 2018 I focused my registration efforts into Inquiry, and through that Inquiry made links to the standards / criteria. I then collected additional evidence that I wanted to keep a record of.

    Evidence example 1
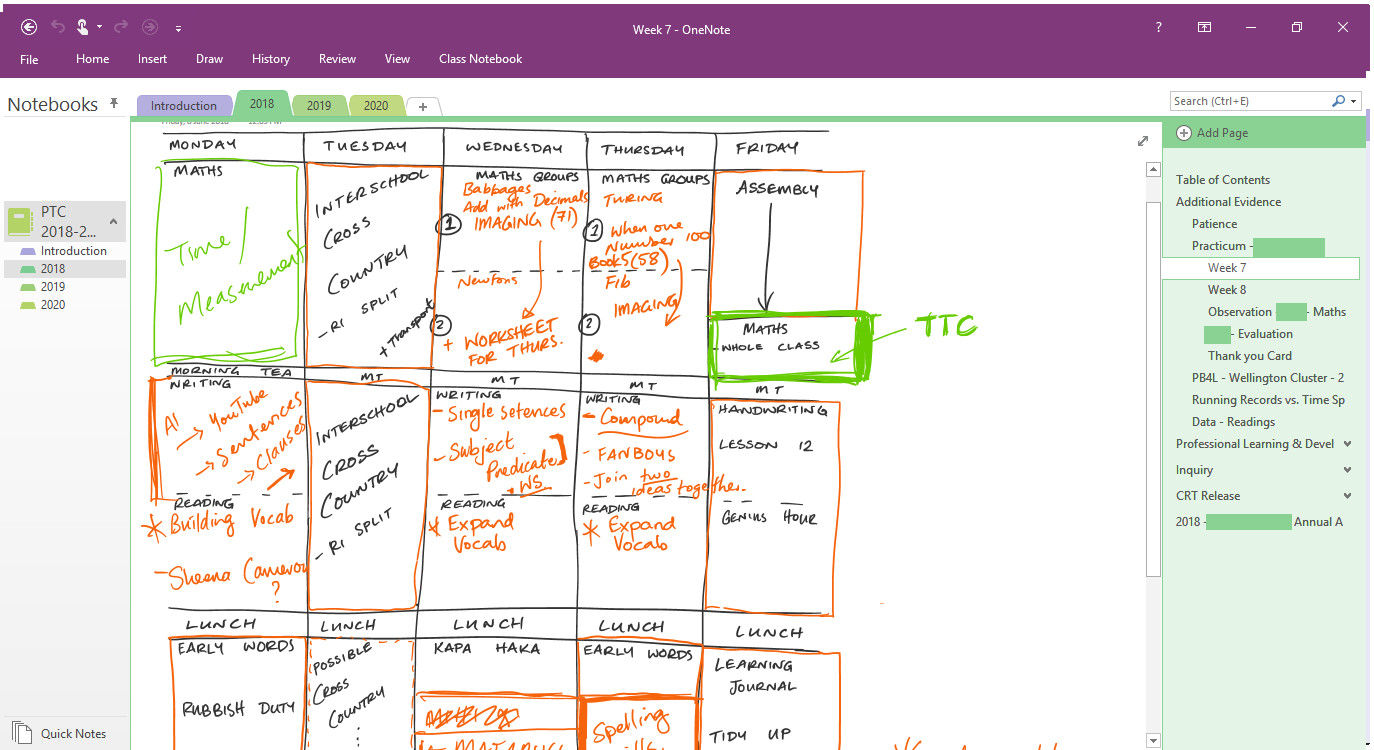
    This is an outline of the week plan for the student teacher in my class.

    Evidence example 2
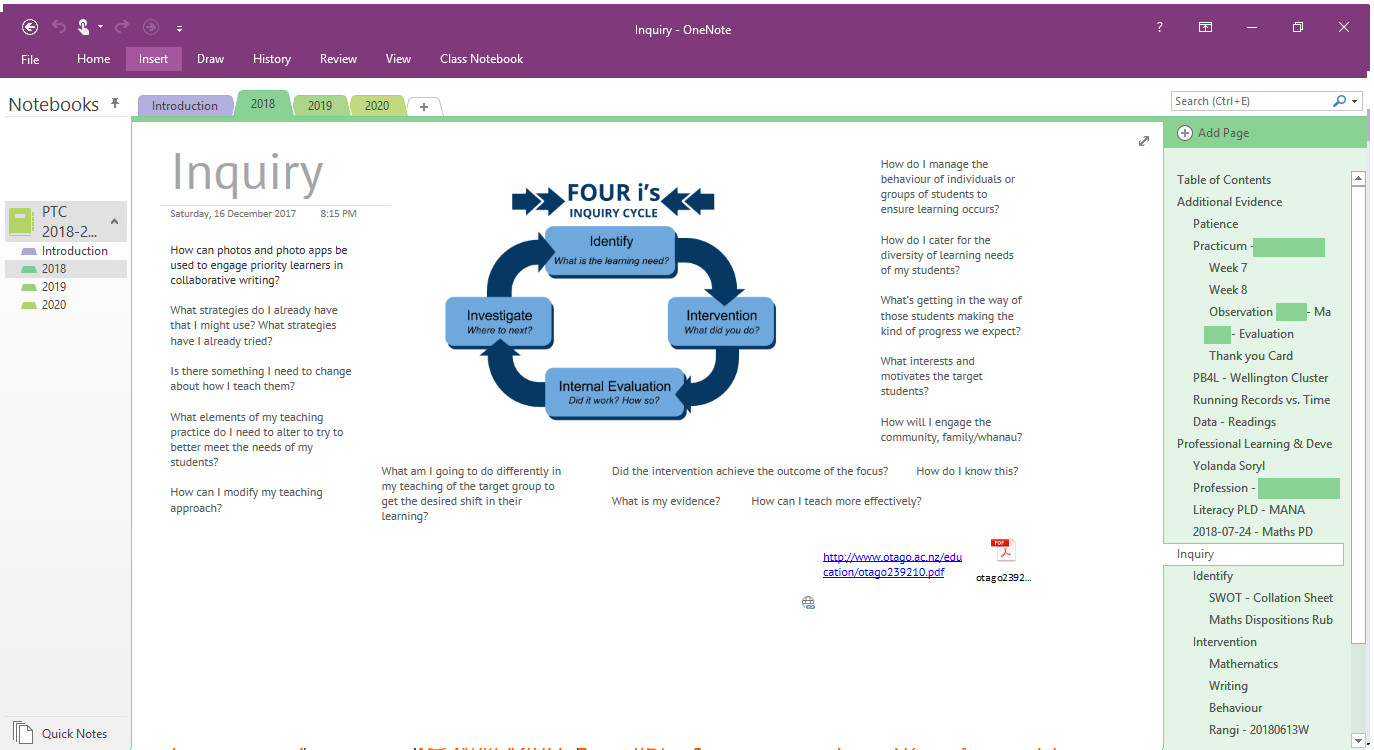
    The Inquiry cycle we used as a school staff complete with some of the questions we would be asking ourselves.

    Evidence example 3
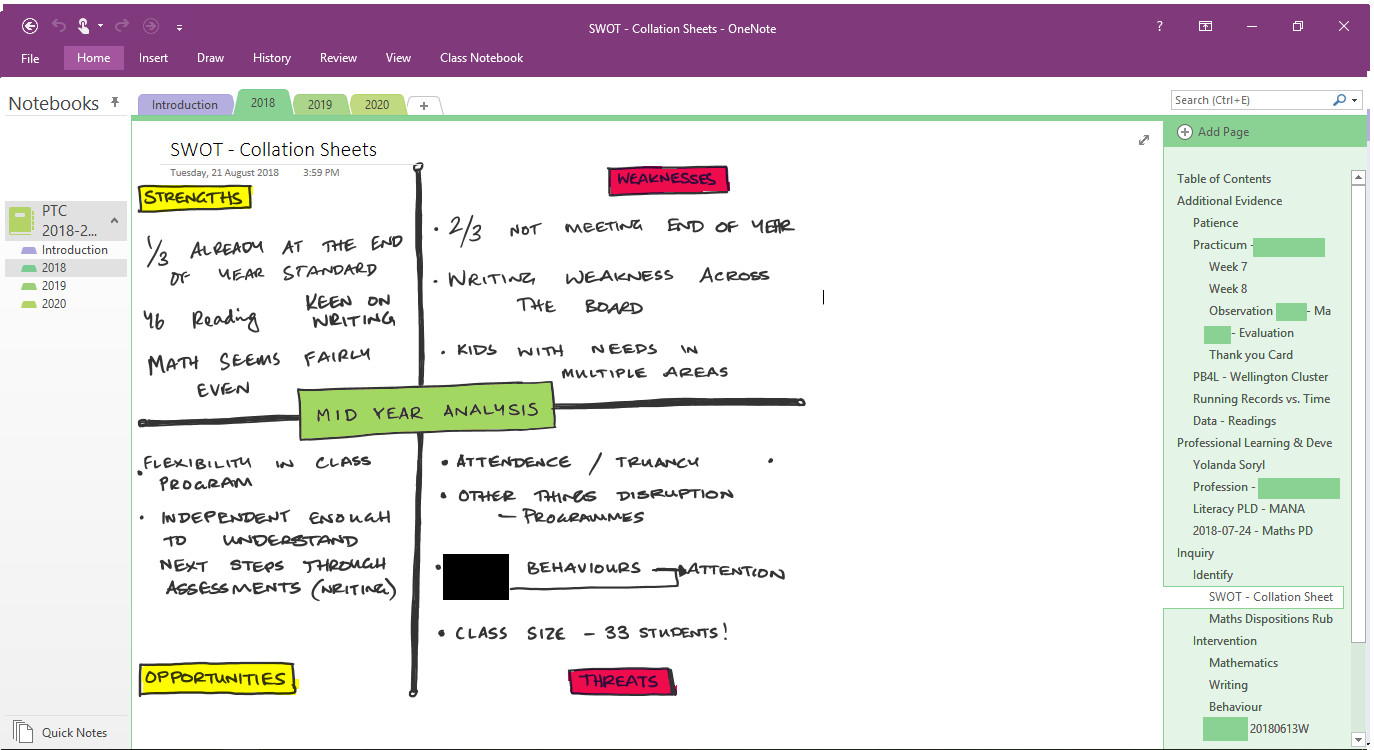
    A mid year review using ‘SWOT’ as a focus. I won’t go into details with these as they are merely serving as examples of the kind of evidence I collected for my Inquiry and portfolio. The key here is doing ONE thing but getting two uses out of it – as well as not doubling up on any work!

    Evidence example 4

    The record keeping of the interventions I carried out for one of my priority learners in my Inquiry.

    2019 contents page
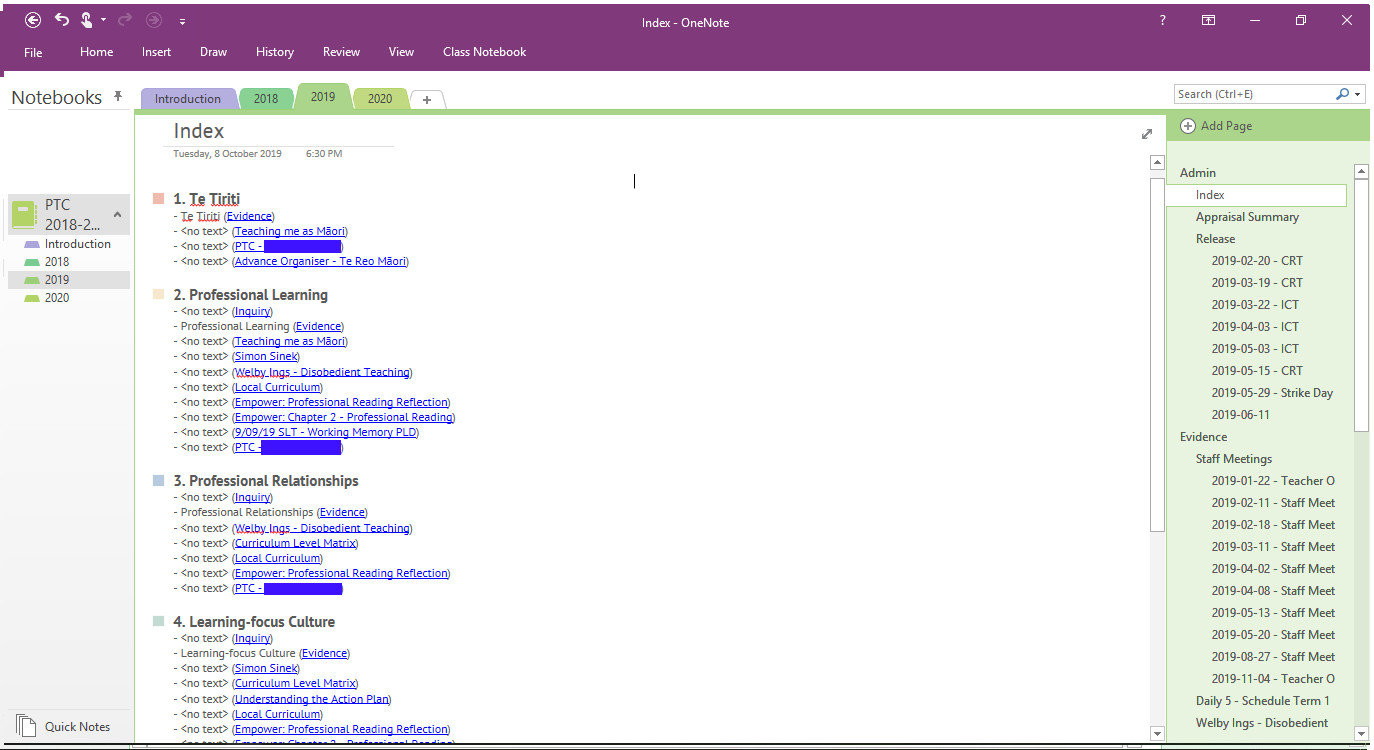
    In 2019, I began keeping my portfolio in a slightly different method, with more focus on evidence than on Inquiry. Essentially, the Inquiry became just another piece of evidence, rather than using the Inquiry to show the standards being met.

    You can see on the right hand side that all the evidence has just been added into one big folder, and then in the Contents page it has a list of the tags being used using the standards as each tag.

    Evidence Example 5
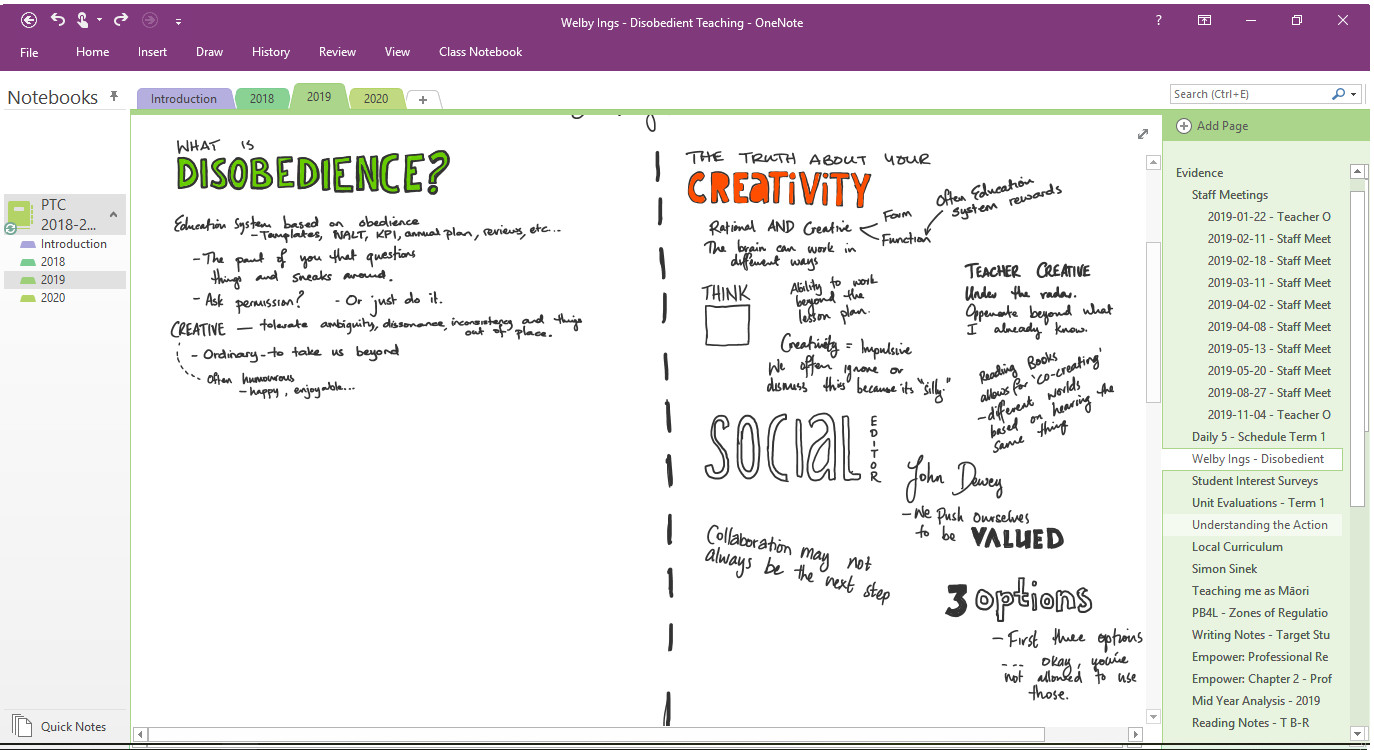
    Another piece of evidence from a PLD session. Check the list on the right side; everything is in one big folder. I’ve attempted to keep it in chronological order.

    Evidence Example 6
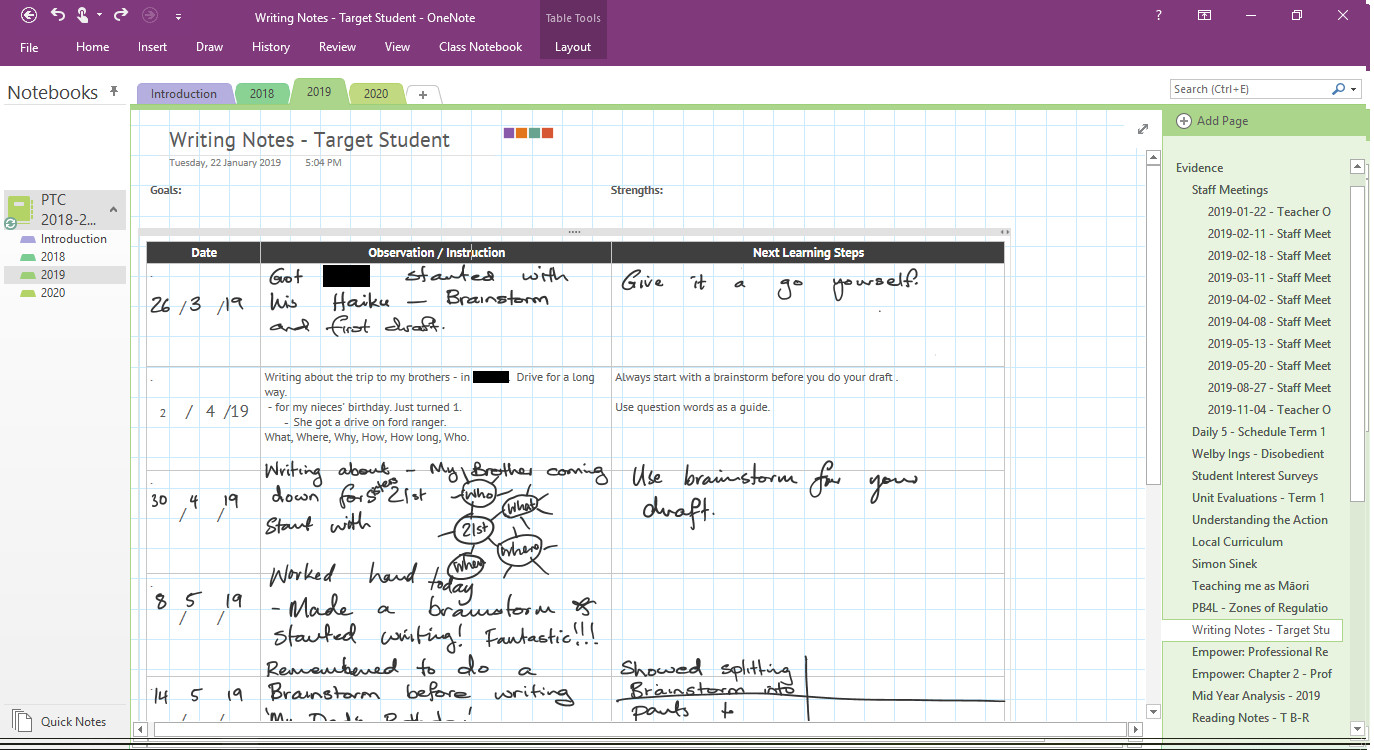
    An example of anecdotal notes taken on one of my priority learners.

    Evidence Example 7
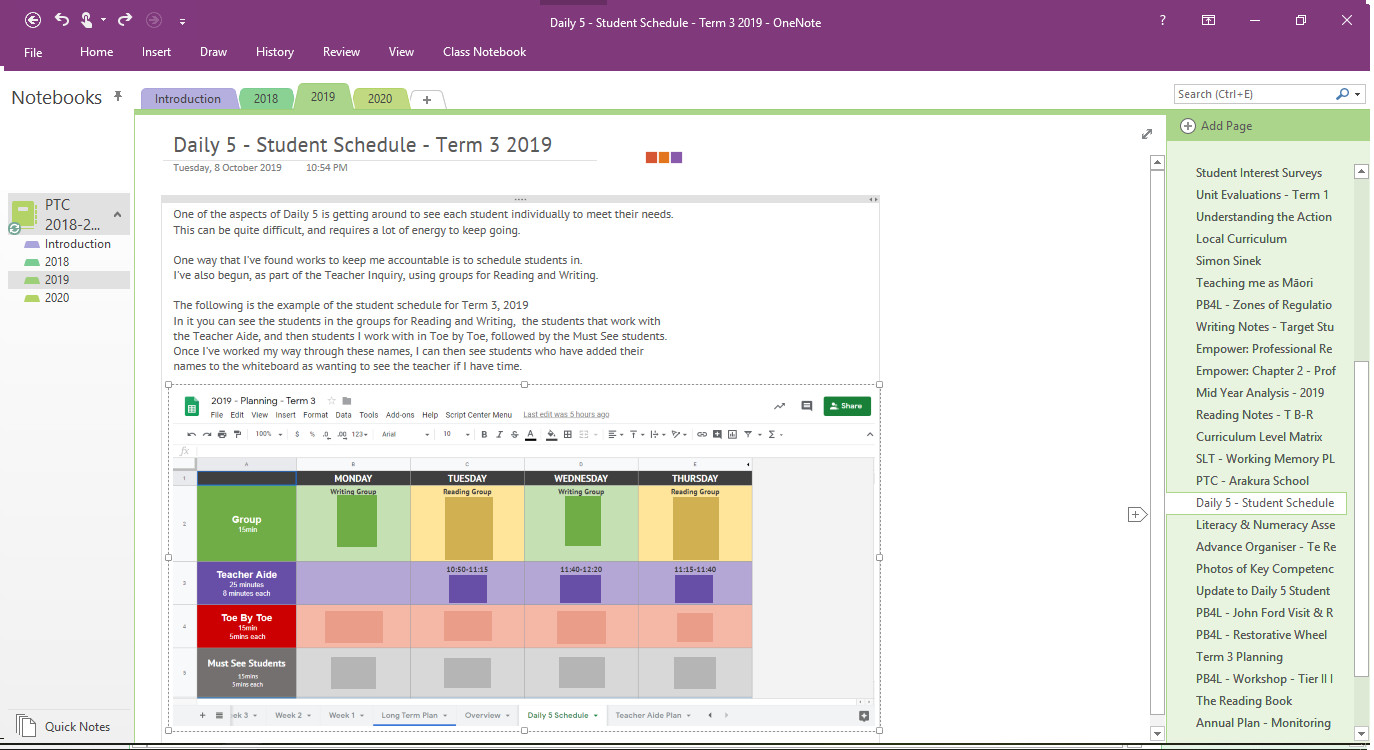
    In this piece of evidence, you can see three benefits of using OneNote for collecting evidence. Firstly, the ability to add in screenshots easily means that you can use other documents and then import them straight in. Secondly, I am able to add my own explanation and description of the evidence in the text above. Thirdly, you can see the three coloured box icons at the top of the page – these are the tags of the standards that this piece of evidence meets – meaning that one piece of evidence can fit into multiple standard categories without having to copy and paste or duplicate evidence.

    Evidence Example 8
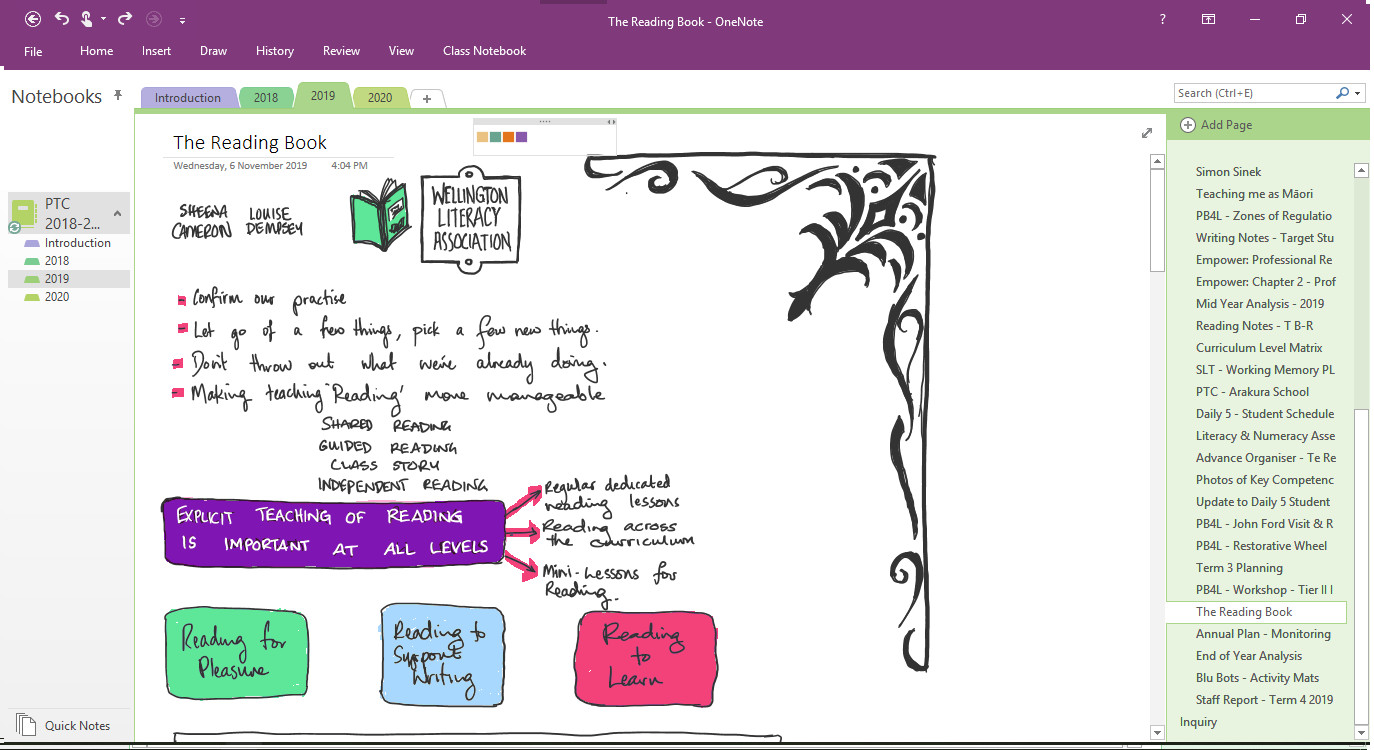
    More evidence I’d taken from notes at a PLD workshop. Note the tags used at the top of this evidence.

    Evidence Example 9
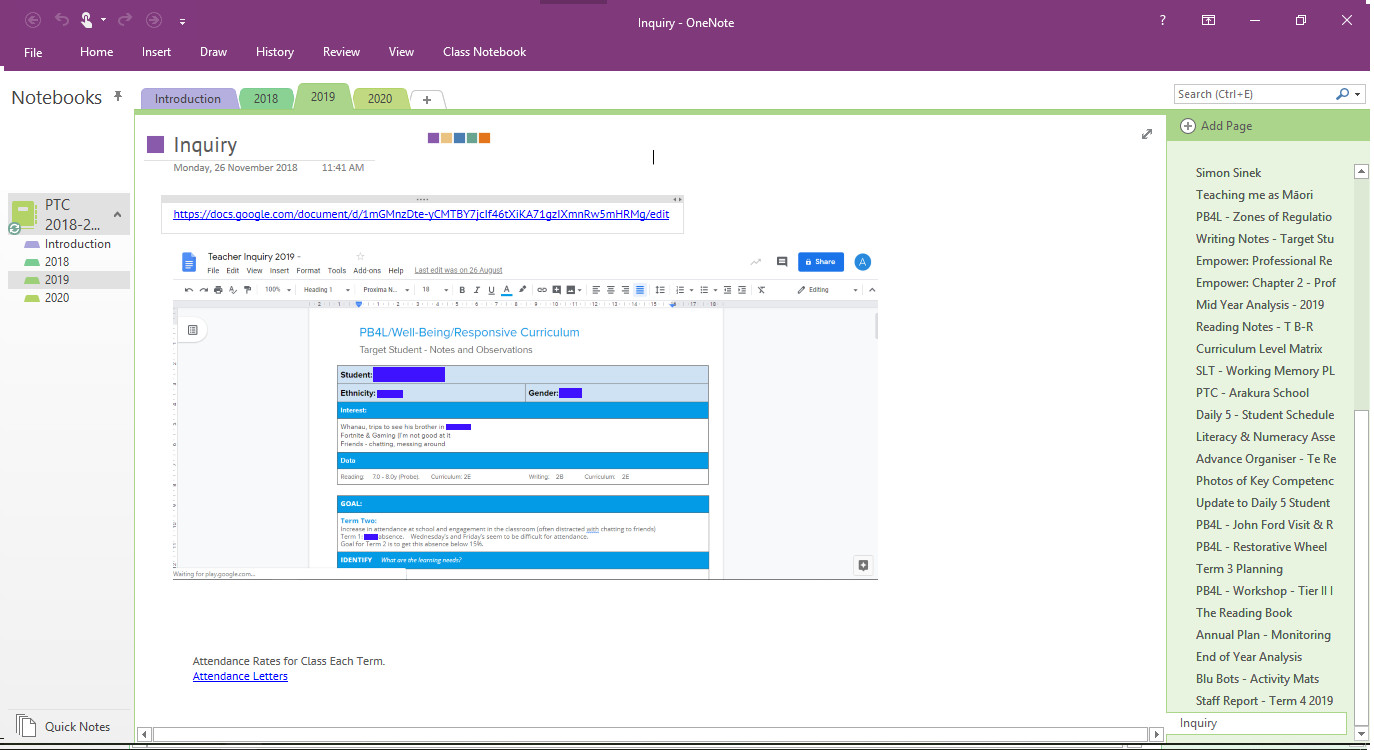
    Finally, as mentioned, I had kept my Inquiry as a separate piece of evidence from my portfolio. Here I’ve made a link to the document (so that I could access it from OneNote and my portfolio) and included a quick screenshot as well as other notes and links that are relevant to the inquiry as the year went on.

    So hopefully that has been a help to those out there that are looking for ideas, or just want to see what others are doing with their portfolios. Remember to check out my other posts about teacher portfolios and ways that you can maintain and keep a portfolio of this kind.

  • Getting started with Genius Hour

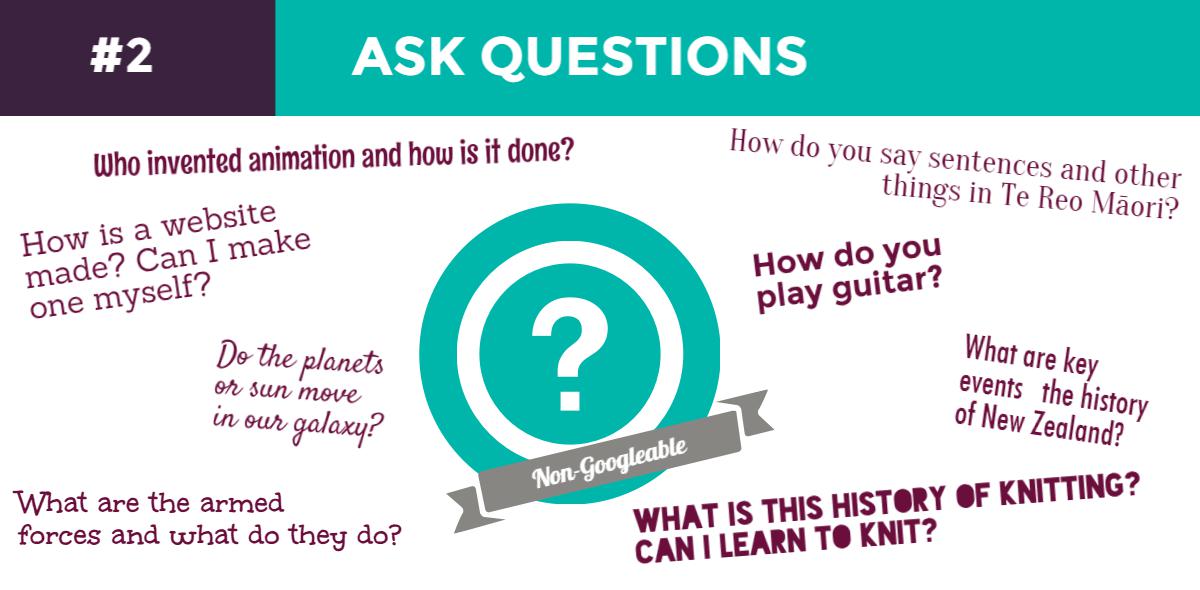
    So this week I was intrigued by the concept of “Genius Hour” or “Passion Projects”. It just so happened that there seems to be a spare hour on Friday where students have finished their handwriting and spelling, and have got some “finishing off time”. Being that we get most things finished each week, this usually means a class full of students with nothing by mischief to get up to.

    Background

    The origins of “Genius Hour” actually links to a Google policy introduced by it’s owners, where employees were encouraged to use one day a week to pursue personal projects. It actually brought about the birth of GMail, which effectively launched Google’s Apps that we are now familiar with. It has since been abandoned by Google, but the ethos behind the policy has enlightened educators as they look for ways to extend their students into finding passions, and developing valuable skills, and motivating them through their interests.

    In simple terms, the idea effectively promotes students to be engaged, inspired, and unleashed.


    Getting Started

    I set about finding out all about Genius Hour and how other teachers have introduced it. I looked for worksheets and Powerpoint presentations, videos, and rubrics. My class is a Year 5/6 class, but obviously this can be made easier, or harder, depending on the level of your students, as it is about them and what they are interested in, and are able to complete.

    Essentially from this I came up with how I wanted to structure the project for the class.

    1. Firstly, I got them to watch Kid President and accept the challenge and become engaged. I also gave them a brief outline of what they would get up to.
    2. The next morning I set them up to brainstorm different things they were passionate about. I gave them a list of different projects that other classes had done. The students all went and brainstormed a range of different ideas that they were passionate about.
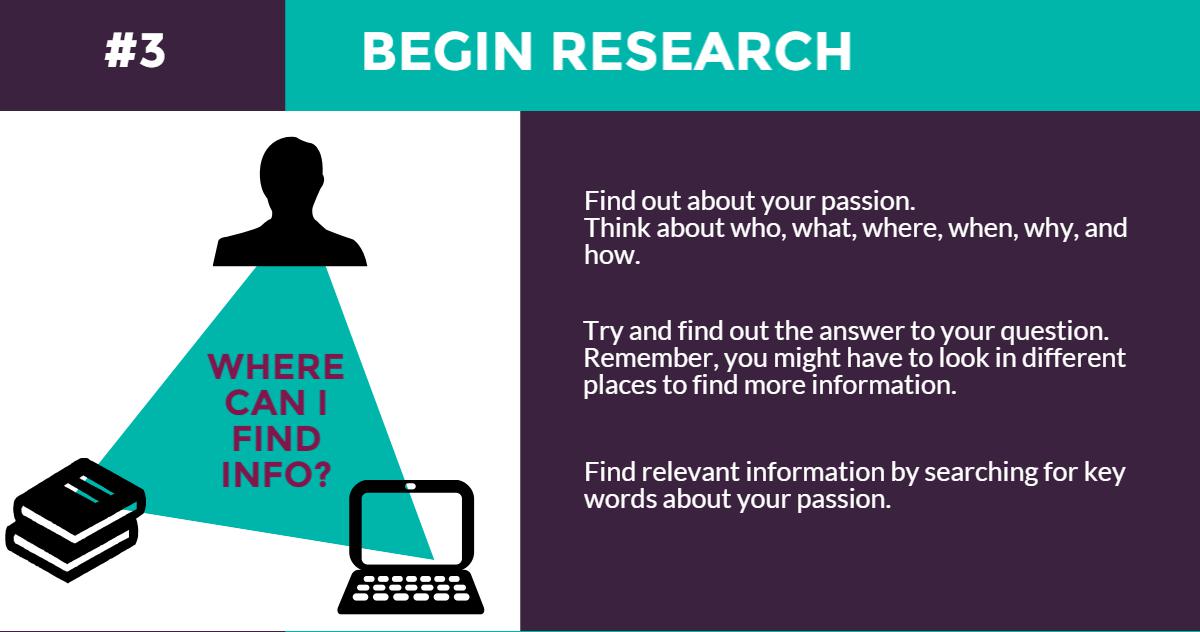
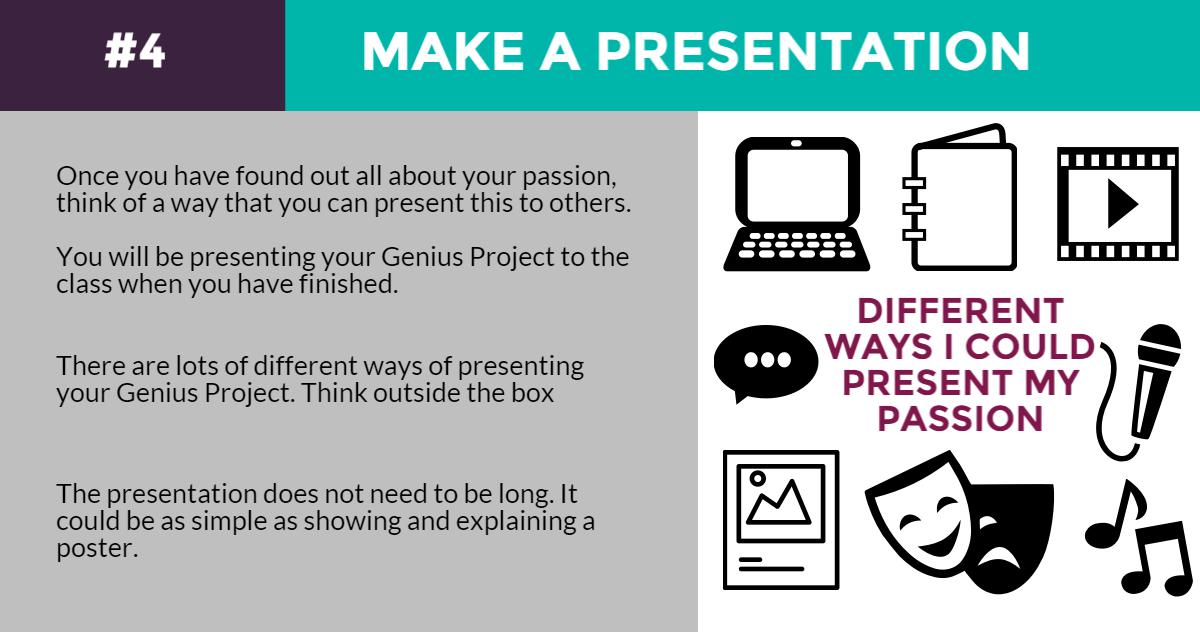
    3. I created a presentation / infographic that illustrate the guidelines I was expecting for each Genius Hour project. This is loosely based on a myriad of different flow charts I had seen from my research.
    4. The next step was to get students thinking about the questions that would guide their project, and some of the surrounding information. There is a very simple and straightforward project page available here. This, of course, can be adapted for your own needs.
    5. Check off each of these sheets to ensure that the students know what they are doing, and let them at it. 
    6. Set time: 60 minutes / 1 hour. Let Genius Hour begin!

    I will let you know how we get on soon!


    Related Links & Resources

    Pinterest Search

    Creative Classroom Tools

  • Student Centred Learning

    We’re all about the buzz words here, and this one is getting quite a bit of attention of late.

    What is Student Centred Learning?

    EdGlossary states that Student Centred Learning is a broad definition of a variety of teaching strategies, but is commonly narrowed down to “Teaching and learning is ‘personalised’, meaning that it addresses the distinct learning needs, interests, aspirations, or cultural backgrounds of individual students.” It also means that students are able to make choices about their own learning, including what, how, and when they learn.

    What does it look like in the classroom?

    There are a wide range of models out there; but there are some more common trends that are finding their ways into the classrooms around the country. Firstly is the initiative of “Inquiry Learning” which has pushed aside the curriculum collective “Topic”, and encouraged students to be a part of the initiation of learning. In a true inquiry model, students investigate or inquire into areas of interest and construct their own learning based on questioning and research. Allowing the students to be part of the planning encourages student centred learning, and engagement and motivation follow suit shortly after. Students inquire into things they are interested in and learning is given real world context.

    Another way in which I have seen student centred learning take off is using Daily 5; a literacy rotation type model in which students are given a structure in which to choose their own learning. While it is also important to have structure and limitations in Daily 5 (otherwise it becomes Daily 55!), allowing the students to choose their writing topic, their reading book, their spelling work, or even how they read, is all part of student centred learning. Individual conferencing with students allows the teacher to focus in on the student as an individual, meeting their specific needs based on observation of their reading or writing.
    Students also get the choice of when they carry out different tasks, so if they don’t feel like writing straight away, they can do some reading instead, and focus on writing later on in the literacy block.
    This is so much different than the ‘Guided Reading‘ approach that fills many New Zealand classrooms these days. Guided Reading requires small groups of students, all who read the same book, which is chosen by the teacher. The teacher directs the learning, based on the needs of the group.

    Why is it becoming standard teaching practise?

    The rise of student centred learning in pedagogical circles stems largely from one word. Relevance. We are told time and time again, that for students to fully engage, fully motivate themselves, and fully be a part of their learning, the learning has to be a real life context, and needs to be relevant for the student. It simply makes sense.

    However, in practise, it requires a lot of change. Teachers need to relinquish control of the teaching, and allow students to be in charge of the learning. Its a different mindset, and requires a different approach from the teacher. The ability for the teacher to predict where the learning will go, get the students thinking through prompting and questioning, and encouraging students to push themselves, is all very different to how we were taught as children.


    Your thoughts?

    How else do you encourage student centred learning in the classroom?
    Please leave your ideas in the comments below.