Tag: online

  • Teaching Portfolios: How to set up a Blog based portfolio

    A blog based template is a good way of going about keeping a record of your portfolio. Many people are used to the system of blogging, and the key part of anything is it’s flexibility.

    Essentially, each piece of evidence is a new post. In that post you can include file links, images, and annotations or descriptions. Built in to every blog system is the use of categories and tags, which can be used to track the six teaching standards, subject of the evidence, type of evidence (image, photo, resource, video, etc…) and more. These can then all be used to create archive pages or collections to showcase in your portfolio.

    The big benefit to creating your portfolio online is its accessibility from anywhere, allowing you to add evidence no matter where you are. In addition to this, being able to easily share your portfolio with your principal in order to get your registration signed off is also a convenience. Another benefit is the ability to add comment, annotation, and descriptions or reflections to each piece of evidence and have it attached with the evidence permanently in one place.

    There are a couple of downsides to using a blog system. The first is a matter of privacy. The thing that makes it a great system, accessibility, is also it’s downfall. Unless you go through your evidence and black out names or blur faces in photos, and moderate any comments you make in annotations, all of these things will go up online for everyone to see. Of course, there are ways of making this work, such as making your portfolio private and password protected. You will have to provide your principal with an account to view it however if you wish to share it with them.
    Secondly, it requires extra work on your part. Each piece of evidence needs to be added as a new blog post, files and photos uploaded, and comments or descriptions added. This is slightly more cumbersome than just dropping files into a folder, or even adding it as a new page in OneNote – especially if you keep getting signed out!

    Pros
    • Accessible online from anywhere
    • Easy to share with others
    • Explanations, Descriptions and Reflections all easy to add to a piece of evidence and posted together.
    Cons
    • Privacy issues by being online
    • Additional work required to add pieces of evidence

    Creating a Teaching Portfolio in a blog

    Getting started is actually a lot easier than you’d first imagine. The hardest part is choosing a blogging system. There are several that I would recommend.

    In the end, choose one that works for you. If it’s too hard for you to use and get used to, then you’re not going to maintain your portfolio very well. The other factor to take into account is the privacy capabilities of the system – does it have private mode? Can you make posts password protected?

    I’m not going to go into details of how to use each of these systems. Most of them have a simple tag and category based system, especially the first two. Instead, I’ll go through the basic setup of what you need to build the structure of your portfolio.

    I’ve actually made an entire website for this purpose. You can visit it below:


    Wordpress.com PTC Portfolio

    Please go through and have a look at this site. It takes you through the whole set up with you, and addresses each of the issues outlined above.

    Examples

    Here are some examples of some blog based portfolios I’ve come across or made myself.

    PTC Portfolio Template
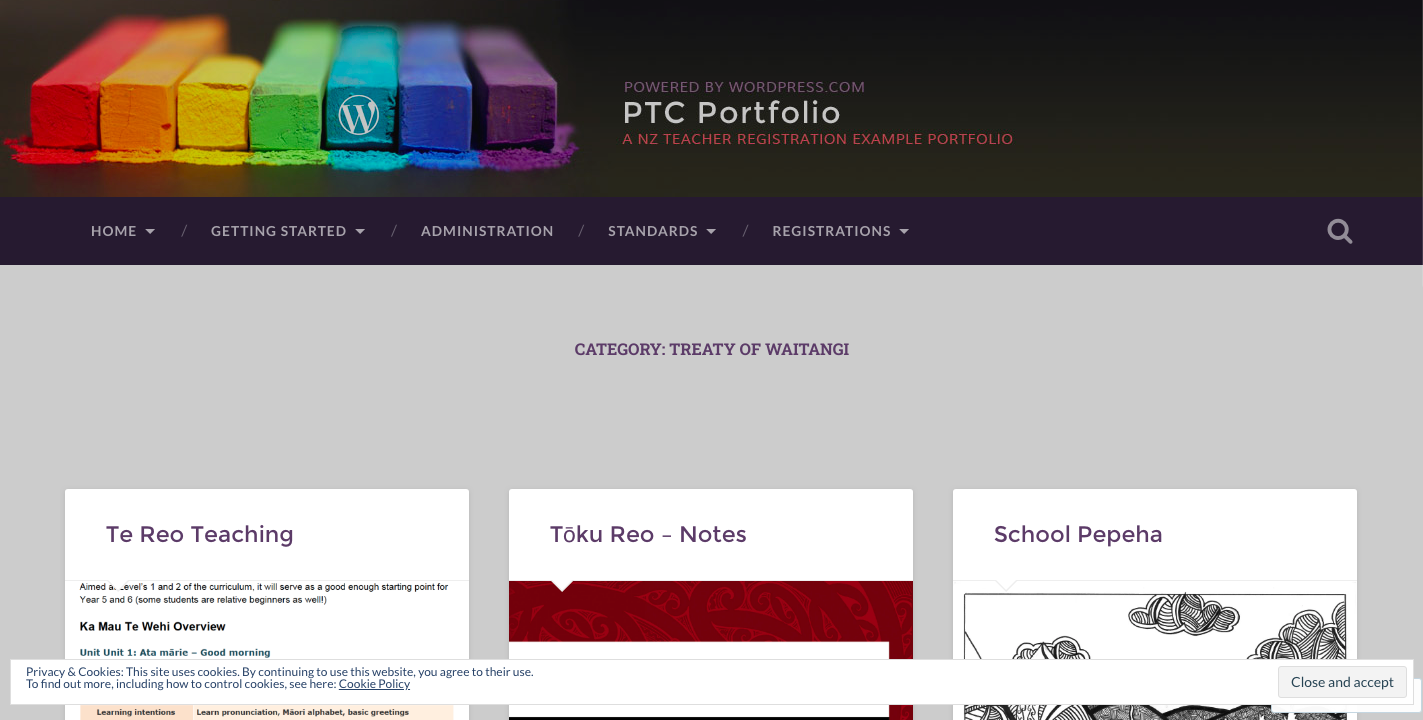
    Not only is the WordPress tutorial I built above a walkthrough, but also serves as an example of what your portfolio could look like. I’ve also put in some example evidence. Go ahead and have a look through it.


    PTC Portfolio

    ePortfolio – Google Site


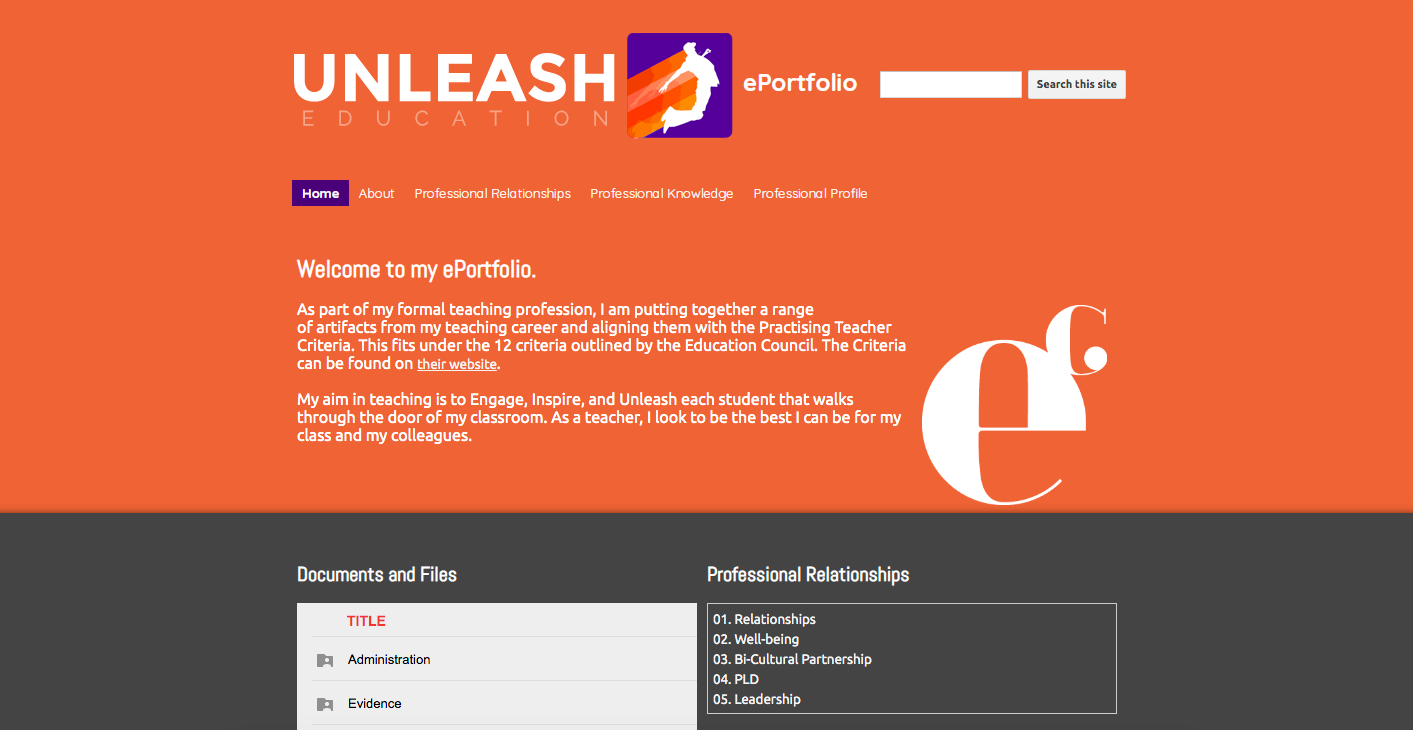
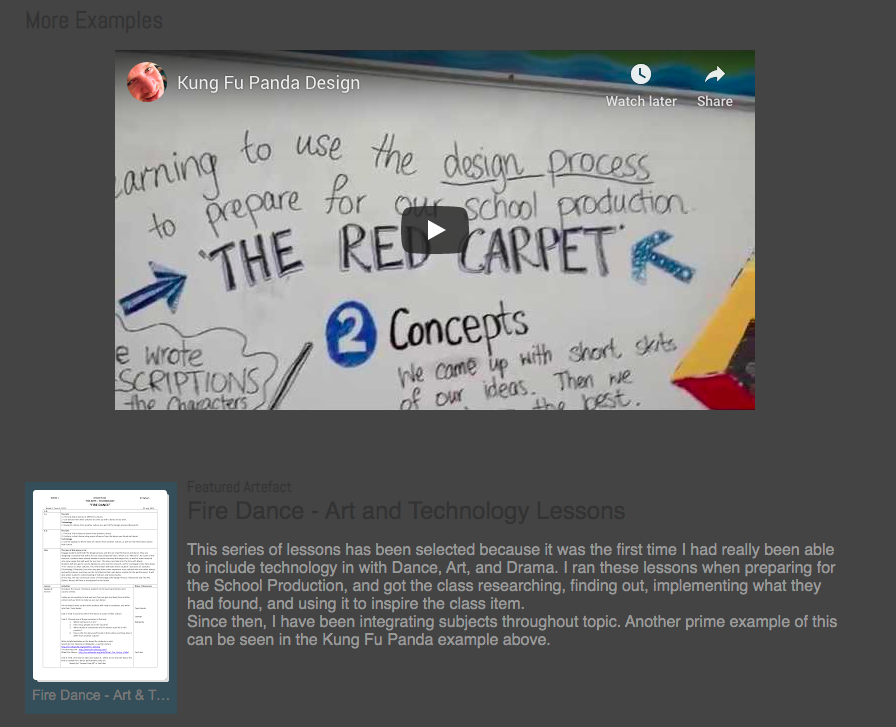
    Here I used a combination of Google Drive and Google Sites. Essentially I would just add evidence into relevant folders in Google Drive and the Site would link to those folders. I could then create some featured posts to showcase some of the better pieces of evidence.

  • PTC Portfolio – Example Template

    So part of my job is providing PD for our staff on a variety of things, usually anything to do with ICT.

    I have been asked to run a workshop on online PTC portfolios, and so as part of that, I built an example PTC site, complete with How-To guide to get your own PTC Portfolio set up just like it.

    ptcportfolio.wordpress.com

    You can head on over to the site and use it if you’re looking at putting your PTC Portfolio up online. Don’t worry, you can keep it all private and make the most of being able to access your portfolio from anywhere.

    Of course, I used WordPress.com, one of the most widespread CMS’s available, and is what I use personally for my own PTC Portfolio.


  • Realtimeboard: The Online Whiteboard for Teachers

    So you need some whiteboard software?

    Basically, there is software that is out there that mimics a whiteboard.

    Then there’s Realtimeboard.

    Online, creative, systematic, intuitive, custom, automatic, flexible. All the things you want in many software apps. But without adding so many options that it wipes out any function.

    I’ve been using Realtimeboard for a while now, but was always limited by their “3 board for free” policy, where free account users could only create three ‘boards’. Being that I would probably prefer to have one board for each subject, or one board for each topic, or even one board per lesson, the 3 board for free policy wasn’t really going to work.

    Recently, there has been a big push (even by Apple) for schools to ‘prove’ that they are a school, in order to offer educational packages to certified education institutions. Realtimeboard recently created a ‘education’ account that educators could sign up for. Their education package includes essentially their premium features, for the free package price. You can’t complain about that!

    Features

    Six-hats

    Below are some of the features that make Realtimeboard my new app of choice:

    Online

    If you want your app to be successful, it needs to be online. No question about it. People need to be able to access it on any computer, or even, any device; phones, tablets, netbook, notebook, laptop, or desktop computer.

    Realtimeboard is exactly that. It runs from the website, realtimeboard.com, much like Google Docs does, or WordPress. And like those, it has a dashboard that you’re taken to when you log in, with a grid or list view of your ‘boards’. As mentioned, the free account allows you to create only three boards, however, with the Education or Premium plan you can create as many as you like.

    Sharing

    To spread the use of your app, there is one thing above all else that will do that. The ability to share. Google does this seamlessly with their host of apps, all tying into Gmail and user contacts.

    Likewise, Realtimeboard allows you to send your board to any email address to share it. You can set the privacy to be view only or edit – though I suspect that such users may be required to sign up to the Realtimeboard service as well – which is how they spread their product.

    Sharing, in turn, also leads to collaboration, and is a key buzzword with anyone talking about technology and teaching together.

    Google Drive

    Integrating with a larger company’s product is a must. Realtimeboard not only allows you to sign up to its services using a Google Account, but then allows you to link with your Google Drive, and use your existing Google contacts list. This makes sharing boards a lot easier, especially with those on the same domain or those who also use Google Apps (which is most teachers these days). Add to that the fact that this will also work for students on Chromebooks, and it makes Realtimeboard an incredibly powerful tool.

    Web App on Chrome

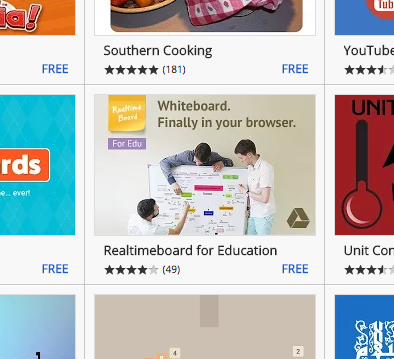
    So more and more people are using Chrome, and people are discovering that they can add Web Apps to the home screen. Realtimeboard also does this, as well as having a Google Extension that users can add to quickly copy content from webpages into a board of their choice in Realtimeboard.

    The web app itself is little more than a link to Realtimeboard.com, but it sits nicely next to your Google Apps to remind you that it’s there, waiting to be of service!

    Templates

    With Realtimeboard, you can create a blank board, or use one of numerous templates which come pre-built with different layouts, different features, and different looks and feels. With that said, I mostly use a blank template to begin with, but in time, I can see the benefit of the templates if you have a specific learning module that requires one of the layouts seen in a template.

    Presentation

    Using the ‘Frames’ mode, users can use a frame to show a progression, turning Realtimeboard into a powerful presentation tool, much like Prezi or Impress.js. Each day in a series of lessons, or each lesson in a unit over the course of a term could be ‘framed’ up and put into a selective order. This makes it very flexible and usable for more than just keeping notes, or jotting down brainstorms.

    More

    As I say, I have only just started paddling in the pool of possibilities with this app. There is no doubt a range of uses and applications for it, both in the classroom as teachers, but also for students.

    So go ahead and get signed up. Get using it. Explore a new realm of possibilities in real time.


    Keep an eye out for an upcoming Check out my post on this site for how to use Realtimeboard, with real screenshots of the different tools and functions that the app offers.