Tag: resource

  • Teaching times Ten – Place Holders: Leaves and Rocks

    Teaching times Ten – Place Holders: Leaves and Rocks

    This morning I used the following mental picture to assist students in understanding what happens to numbers when they multiply it by ten. It also allowed for follow up for multiplying by 100.

    Example 1

    Here’s the set up.

    The fan is blowing hard, and pushes all the leaves against the far wall.

    The leaf can be moved closer to the fan by multiplying it by 10. Or; when you multiply it by ten, it moves across one column.

    Now, the fan is blowing pretty hard, and so that leaf is just going to get blown back against the wall. How can we stop it from being blown back?

    That’s right! Put a rock behind it. This rock happens to be of a similar shape to a zero. Coincidence!?

    Example 2

    Here’s another example with a two digit number. Children often get confused by 58 x 10 becoming 508, rather than 580.

    Follow the following images, as with above, to show how the leaves stick together. The five is being blown against the 8, and the 8 is against the wall.


    We multiply them by 10, and they both move across, sticking next to each other.


    That fan is pretty strong. It’ll blow those leaves right back against the wall if we don’t do something about it…


    That’s the trick! Add a rock and it keeps the leaves from blowing away!

    Extension:

    Make a link between multiplying by 10 having one rock, and there’s one zero in the number 10.

    What do you think will happen when we multiply by 100. How many squares can the leaves move? How many rocks do we need to fill the space? How many zeros in the number 100?


    Feel free to use this next time you’re teaching multiplying by ten!

    Enjoy!

  • Daily 5 – Reading or Writing Student Conference

    I have just made this resource to assist my Teacher Aide(s) in meeting with regular students during Daily 5. It outlines various questions and learning based conversations to have as to what the student has chosen to meet with them about (either Reading or Writing). This helps support the student to make choices, and depending on what stage they are up to with their writing or reading determines the kind of responses and coaching the teacher aide will provide.

    While this has been developed for a Teacher Aide to use, it can also be used by Teachers as well. It largely follows the same kind of conference I have with my students when I meet with them.

    The idea behind this would be to fold it in half and laminate it. Then it can sit in a folder in class, or be stuck to the wall somewhere and depending on what the student chooses, the resource can just be flipped to the relevent side. It can sit along side the Teacher or Teacher Aide as they conference with the student.

    Teacher Aide Daily 5.pdf (143 kb)


  • Writing Level Markers

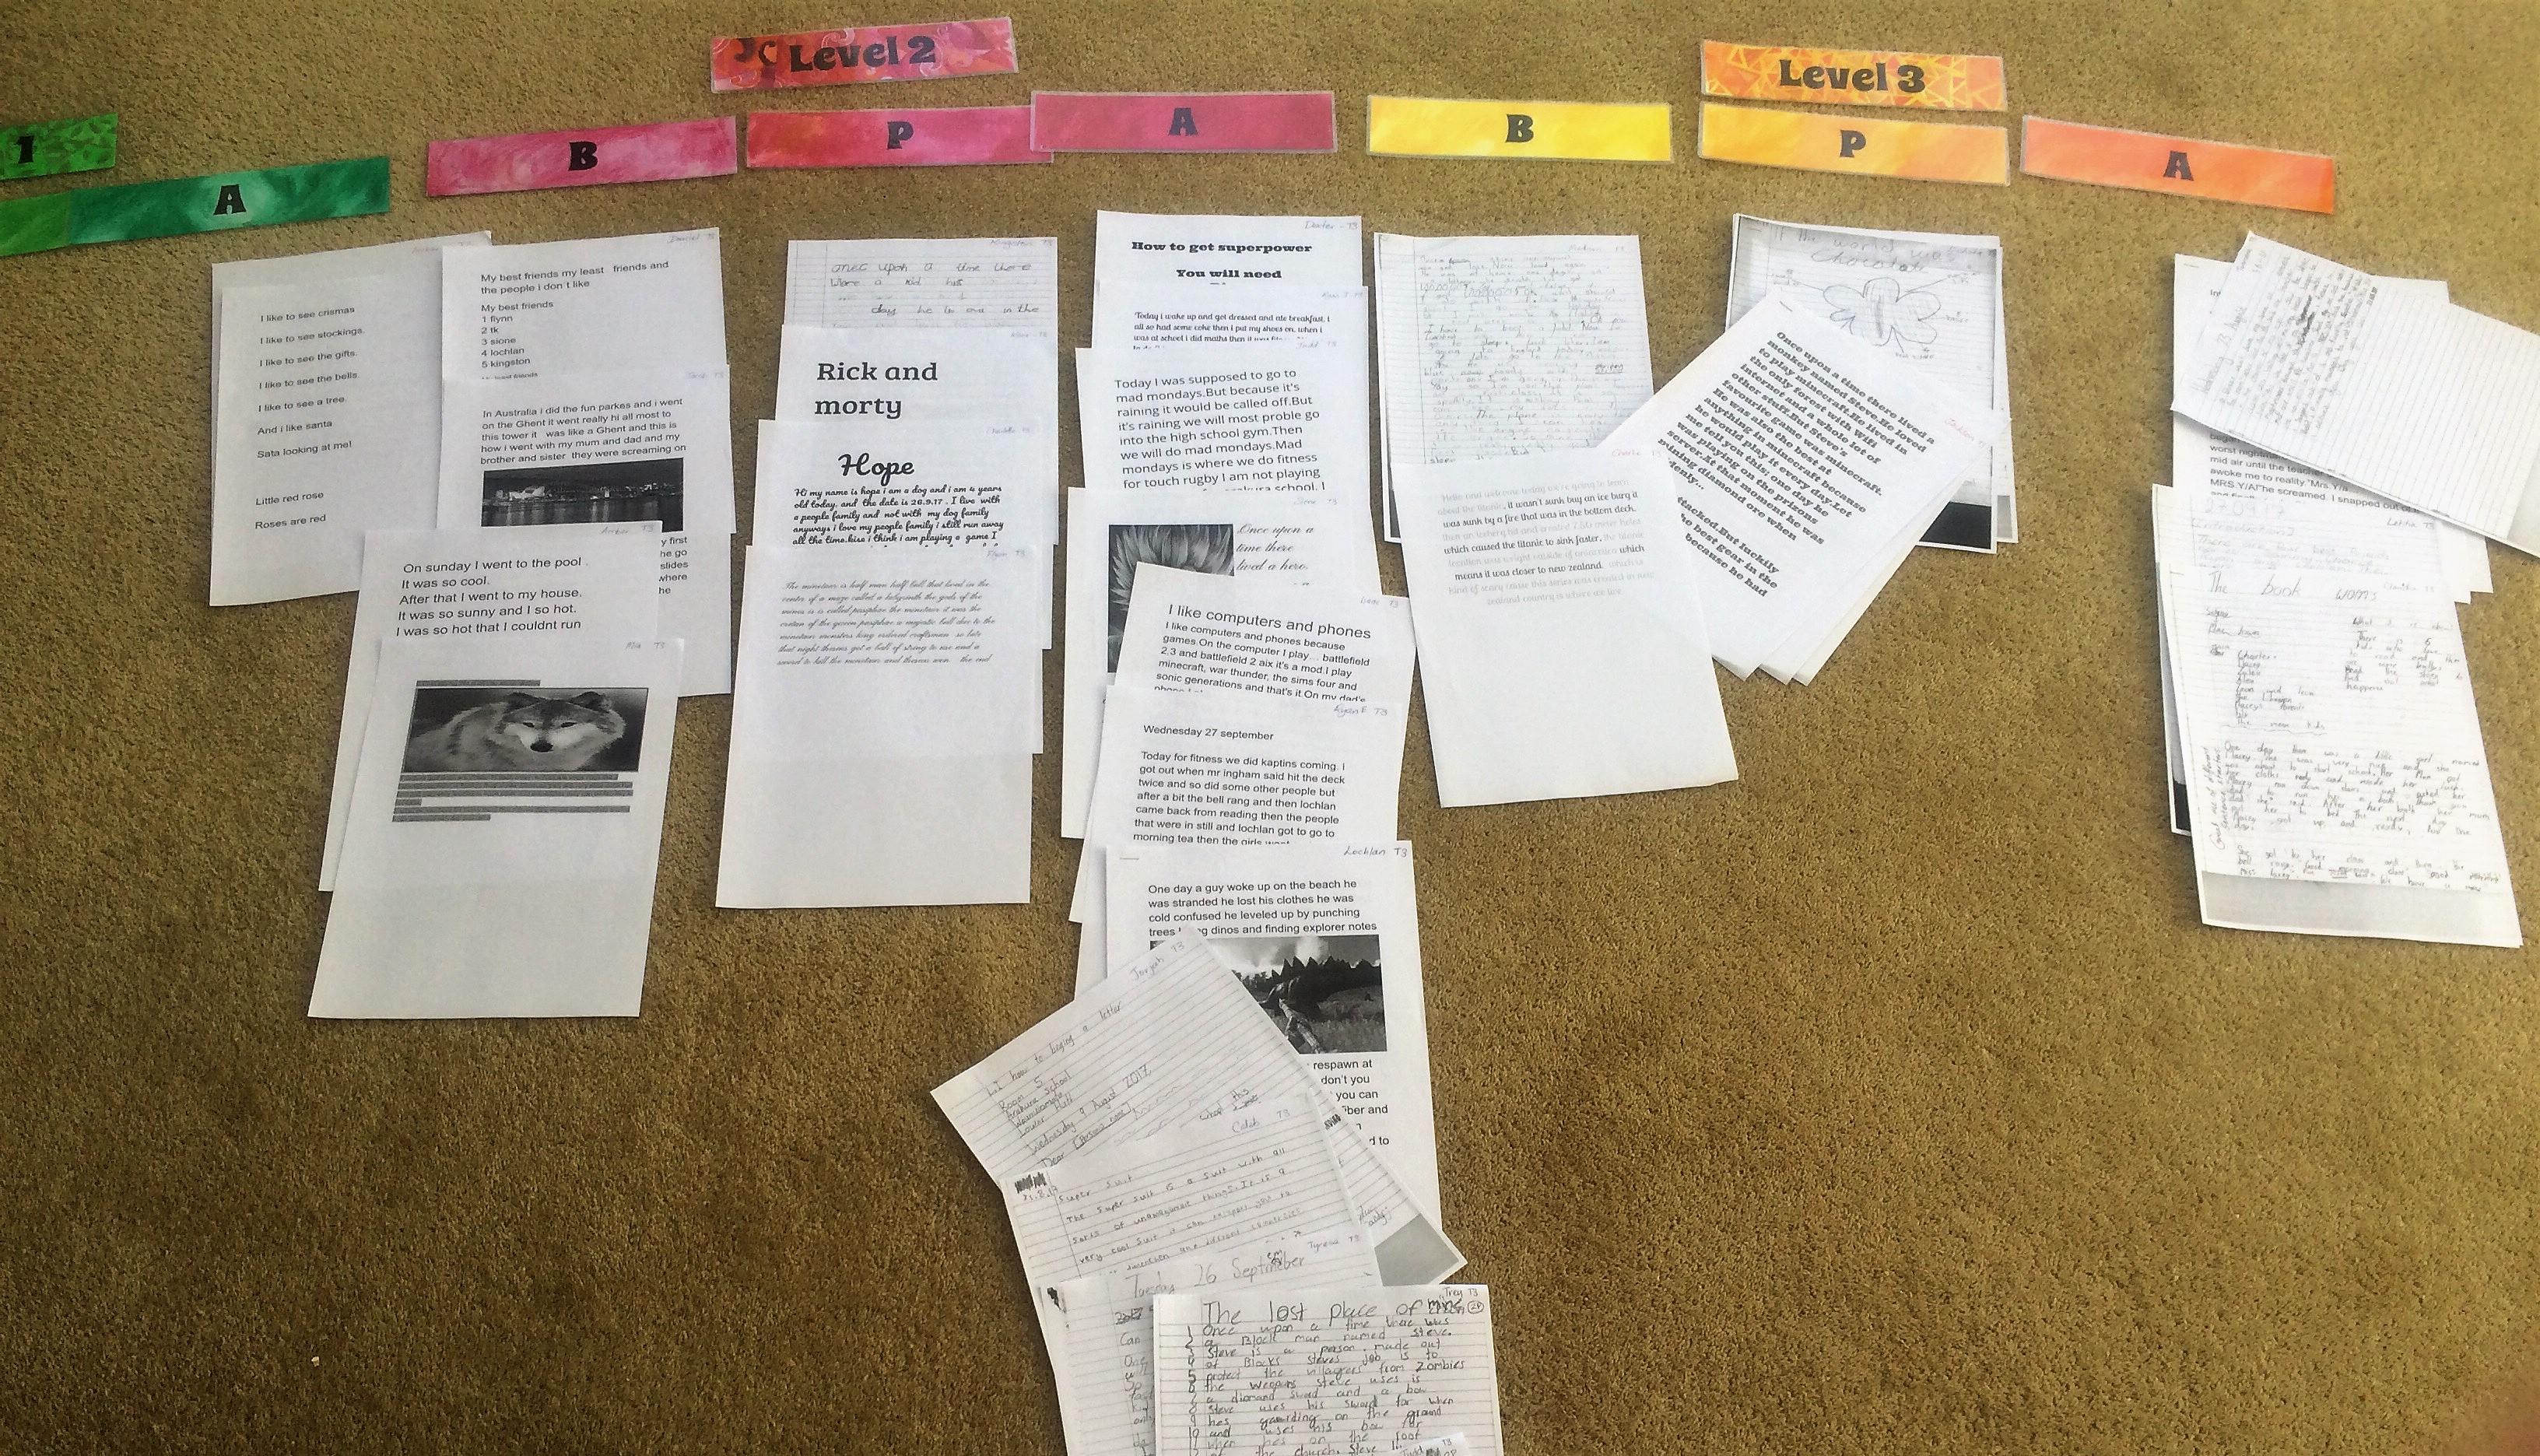
    Over the last few months, I’ve found a way of grouping my student’s writing that makes it quick to moderate my own judgments of each sample.

    It started off as a quick few post-it notes, but me being me, decided it needed a bit more setup and design for it to be more meaningful.

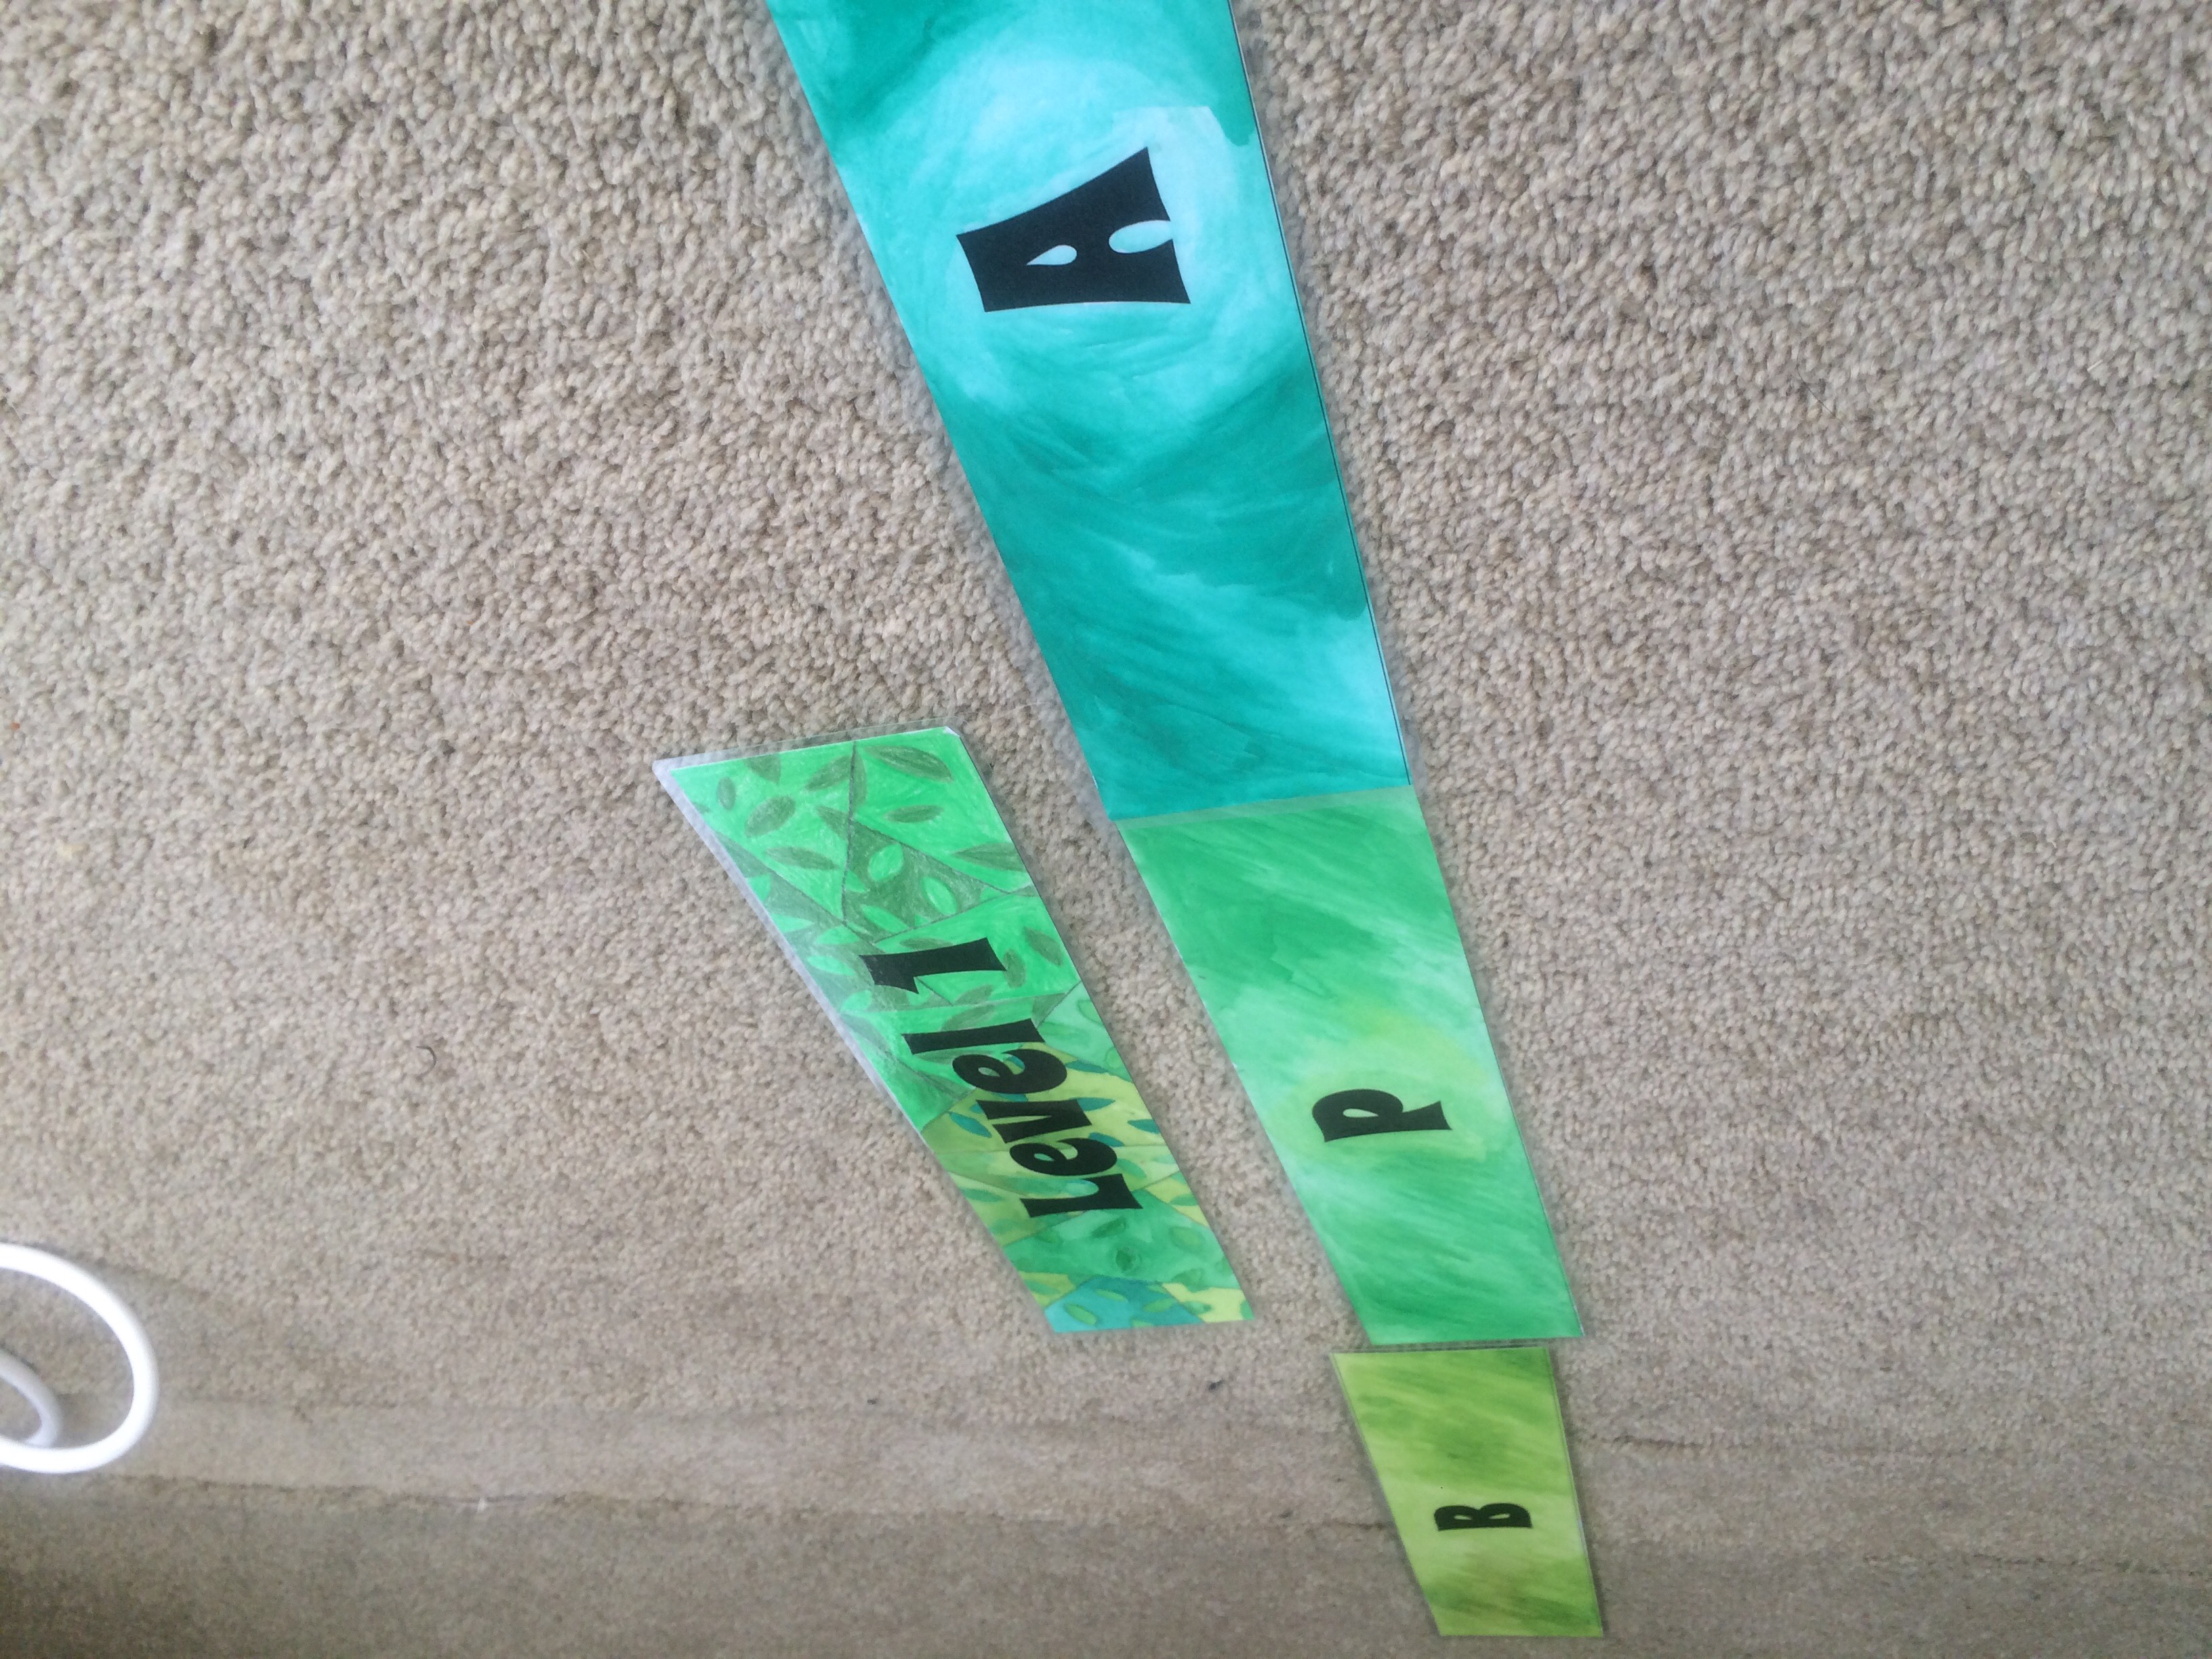
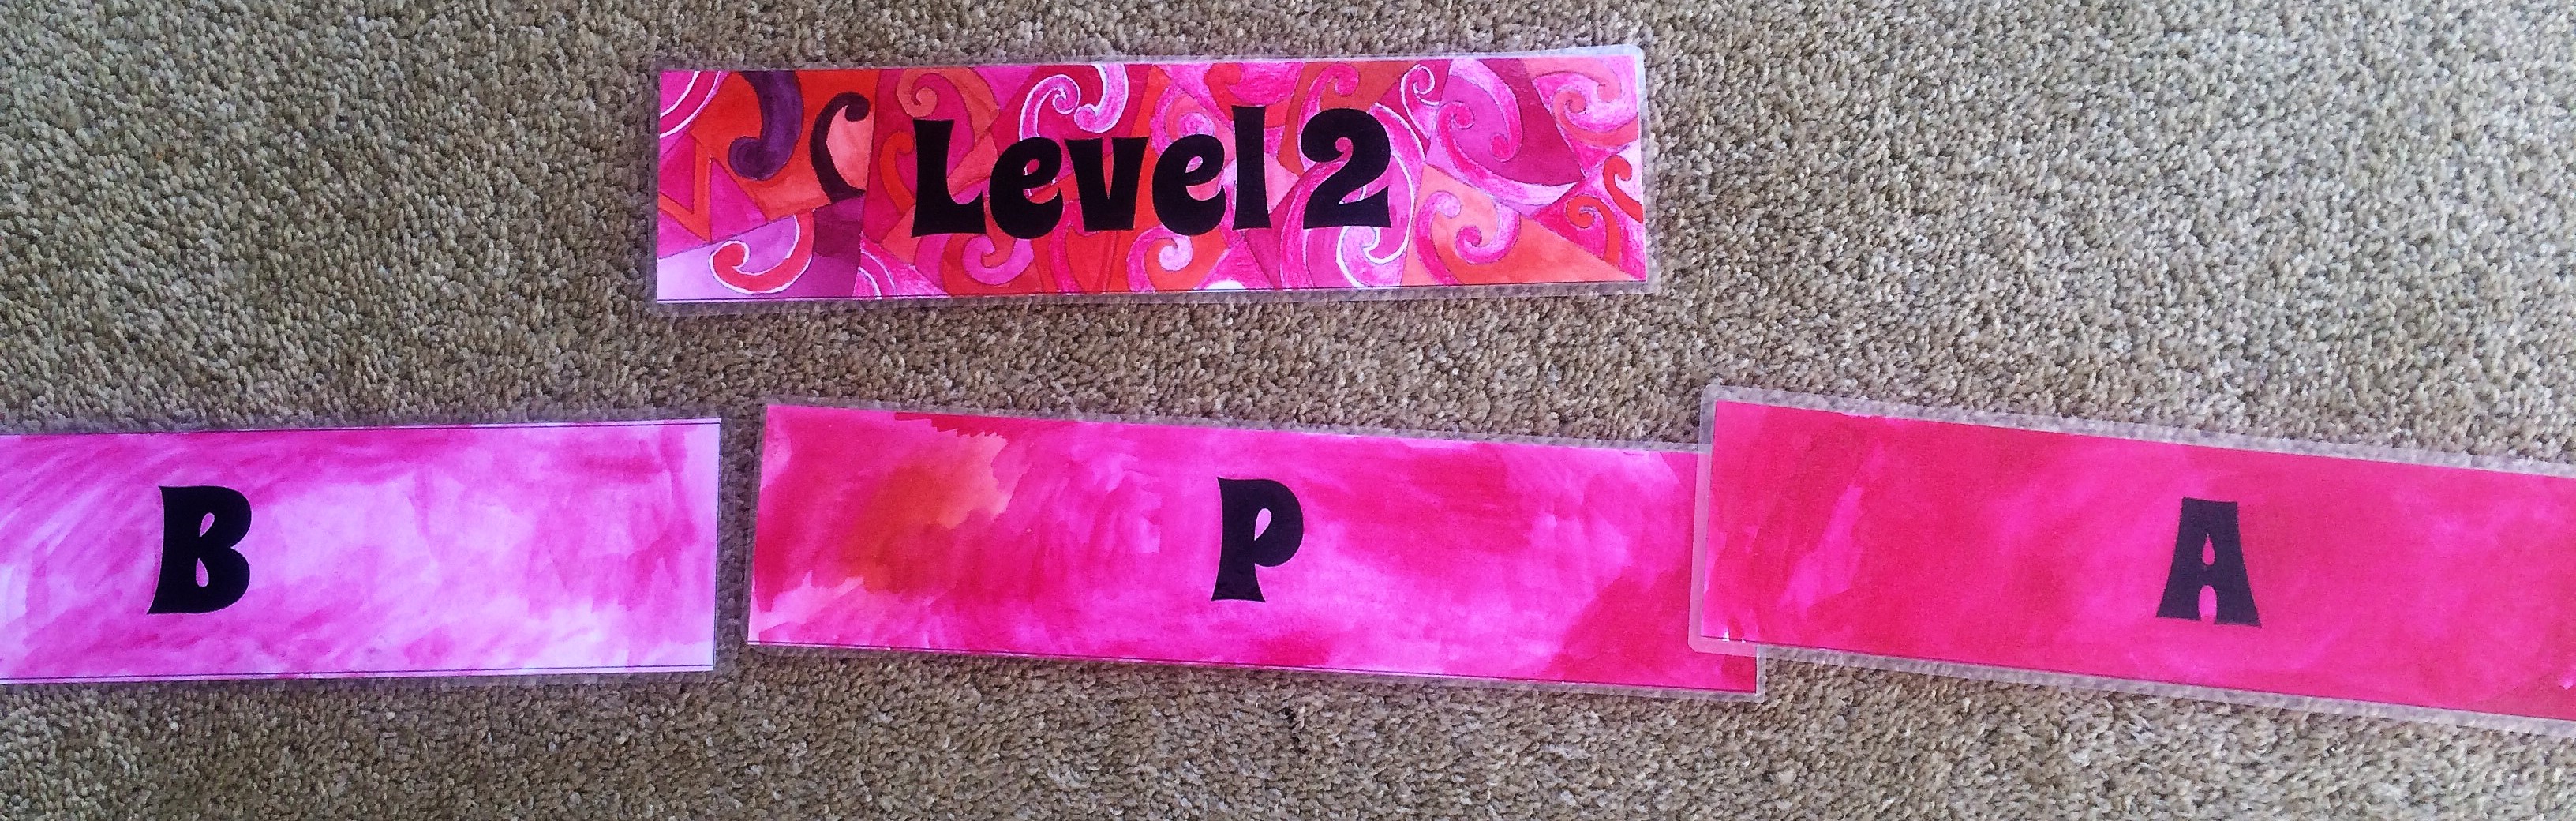
    Below are photos of the labels having been set up on my floor, and the resulting samples placed within each sub-level. This allows you to read, place, and check that what you have at one level is roughly similar to other pieces of writing that are in that sub-level.


  • Introducing Daily 5 – Prezi Presentation

    It’s the start of the year, and one of the most important things is to begin how you mean to go on.

    From day one, I begin my classroom routine, especially for Daily 5.

    The last few years I’ve been relying on a Powerpoint found on Pinterest to introduce and explain Daily 5 to my new class.

    This year I decided to make my own, taking aspects from this powerpoint, but also adding my own things, and truncating some of the information to keep up with the declining attention span of my students.

    Feel free to use this as you begin your journey into Daily 5.

    http://prezi.com/vztrhn1kvjsh/?utm_campaign=share&utm_medium=copy[su_lightbox src=”http://prezi.com/vztrhn1kvjsh/?utm_campaign=share&utm_medium=copy”][su_button] Welcome to Daily 5 – Prezi.com [/su_button][/su_lightbox]

    [su_qrcode data=”http://prezi.com/vztrhn1kvjsh/?utm_campaign=share&utm_medium=copy” title=”Welcome to Daily 5″ align=”right” link=”http://prezi.com/vztrhn1kvjsh/?utm_campaign=share&utm_medium=copy”]

  • Te Reo Māori Wallpaper

    So last week I came across a neat little graphic someone had made with some Te Reo Māori requests / instructions on them.

    I was thinking tonight, that there has to be a way that can be a quick reference for me in class to access these. I realised that a graphic on my phone would sit in my photos album and I could remind myself of them every now and then.

    But I wasn’t happy with that.

    No. I needed somewhere more accessible.

    Like on the lock screen.

    So I downloaded a template for the right sizes (for my iPhone 5S) and set about converting the original graphic into something somewhat pleasing to look at, all with the Te Reo kīanga (phrases) to jog my memory until they become part of my every day kōrero.

    Because I’m a bit of a geek, I like having the same (or nearly the same) background for my lockscreen and home screen, as the icons appear to zoom as you unlock. To help with this (but removing confusion of overlapping text from app icons) I’ve created a ‘home screen’ background as well, which contains the same background, less the Te Reo Māori phrases.

    Hopefully many of you will also find some use for them.

    iPhone 5S
    744x1392px


    Lock Screen

     
     Home Screen

    Note: I have the intention of making these for iPhone 6 and 6 Plus in due course. Android users may just have to make do with the sizes that are a closest match.

    Enjoy!

  • Teaching: The Noise Level

    A while back I made a class resource that was as much fun making as it is using. Many people use the Traffic Light model for noise level indication, with Red being “Silent”, Orange being “Quietly Working” and Green being “Talking”.

    I decided it needed something extra, and so, using inspiration from Charles Dickens and Dr. Seuss, I created a few poems.

    Why I’ve made an entry to my blog about it? Well, because every time I change it, I read the poems, and every time, without fail, it works. Especially Quietly Working.  This is because it helps the students to understand the expectations, in a quirky and fun way.

    1310342584190_27910

    The Poems are as follows:

    Silent

    It was just before playtime,
    When all through the class
    Not a sound was there stirring,
    Not even a gasp.
    The children were working
    In their books with care
    In the hope that the Teacher
    Would soon be able to hear
    The whispers of silence
    That had magically appeared.

    Quietly Working

    After the hustle and bustle
    Was gone
    And the silence had spoken
    And grimaced and shone
    The children they worked and
    They slaved
    In hope that they might talk
    Just once that day
    The teacher said “Fine,
    You’ve worked hard and tough”
    And he let them whisper
    And a whisper was enough.

    Talking

    For ages they worked and
    Toiled away
    Waiting for the chance of
    Group work that day
    For the students knew that in
    Group work they could talk
    As long as it was on task and
    Not silly parrot squawk!
    In their groups they said
    It was so,
    It’s okay for us to talk now
    All systems are go!