
So you’ve thought about getting started with getting your teaching stuff out there in the wide wide world of the internet?
Well done! You’ve taken the first step.
It’s not easy. Keeping motivated, finding what to write about, finding time to write. These all get in the way and can stop you from blogging.
But there are huge benefits. Sharing ideas. Working collaboratively. Commenting and discussing. Researching and proffesional development. All at the ends of your fingers.
Which Platform?
There are a bunch of suitable blogging platforms out there. WordPress, Blogger, Weebly, and Tumblr, just to name a few. Edublogs is also an option which is based on wordpress for teachers and schools. WordPress is fairly comprehensive. Blogger works well if you already have a Google account and want to keep all your things Google related (Google Docs, Sites, Drive etc). Weebly and Tumblr are great for linking in all sorts of media and different sources.
I personally, highly recommend WordPress. I have used it extensively for many of my website designs since Version 2.1, which was released in 2007.
Getting Started
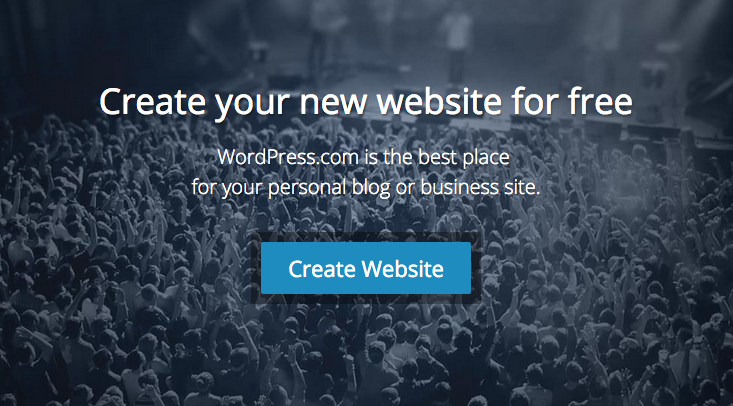
Step 1: Go to WordPress.com and ‘Create Website’. (You can go to WordPress.org if you already have your own server and know how to set it all up)
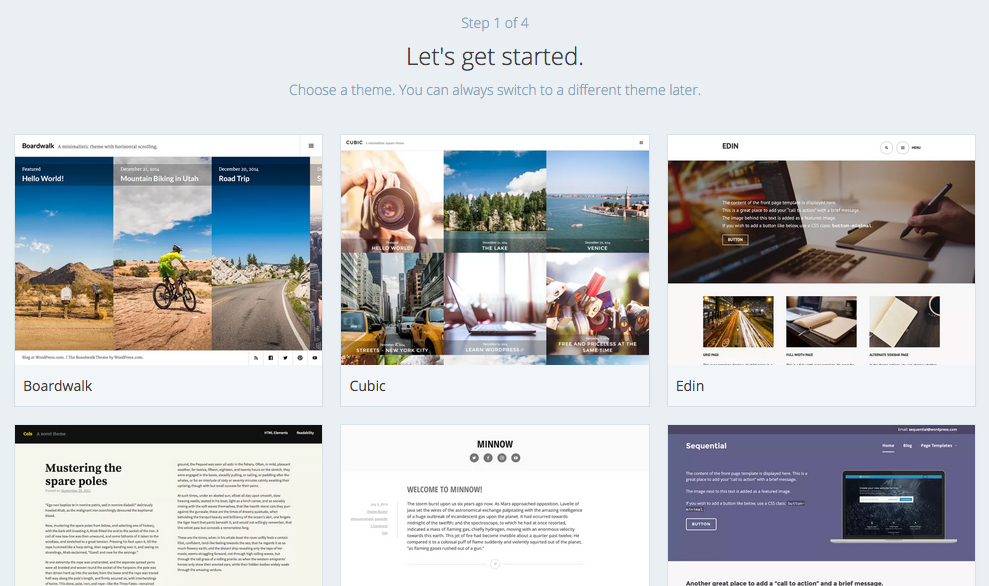
Step 2: Choose your theme. There’s a HUGE range of these available, and even more if you have your own server set up. Even more if you’re prepared to pay for professional them.
Step 3: Choose the name of your site, or at least the domain name you want to choose. Type in a keyword, or the name of your site in the first box, and WordPress.com will come up with a list of available addresses for your site. You may not get your first choice, given that wordpress.com has been around for quite a while now!
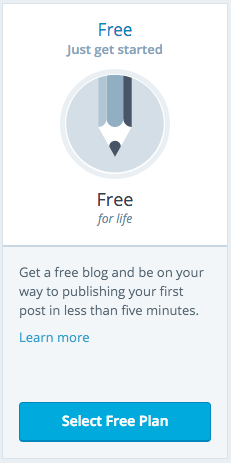 Step 4: Unless you’re fairly sure you’re going to be making a thing of this, you’re probably going to want to go with the free option. This is fairly straightforward set up, and while it does have some limitations, these won’t (or shouldn’t) get in your way just yet.
Step 5: So, that’s pretty much it. Now you just have to create an account. Use a personal email address (because you’ll want to keep the blog going should you move schools and change work email addresses), and select a username and password that you’ll remember.
Make your First Post
 So now it’s time to get writing. Say hello to the world!
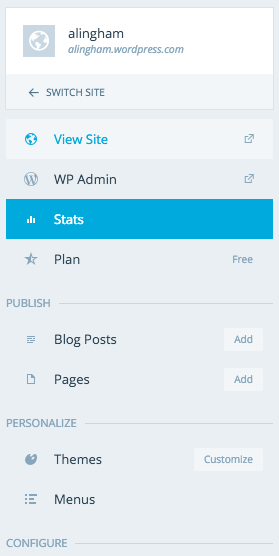
On the left hand side of the dashboard, you’ll see a menu. You can go to either the ‘WP Admin‘ which is where you can change some of your settings, as well as write posts. We will use this to start with, as it will be how you will make most of your posts.
Further, down the list, under ‘Publish’, there is ‘Blog Posts‘ with an Add button next to it. Clicking on this will also create a new blog post, but we won’t use this way for now.
So, go ahead, click on “WP Admin“.
Alternatively, whatever web address you set up (for this case I’ll use “example”), you can go to “example.wordpress.com/wp-admin“.
Once there, on the left there is your main menu where everything is.
From here you can create pages, posts, upload media, create links, approve and moderate comments, change settings, and modify your appearance. Have a play around with any of this later. It’s pretty straightforward, and reasonably difficult to break – so go wild!
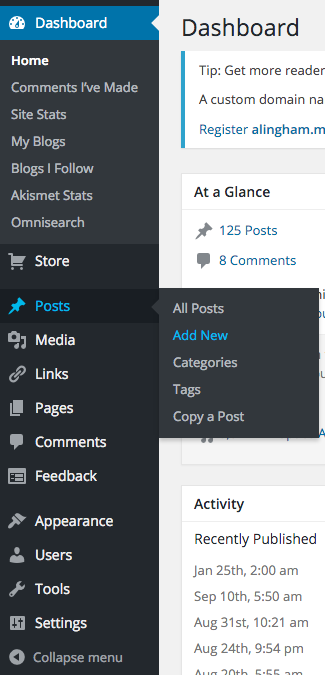 For now, go to “Posts -> Add New“.
A brand new post will be created. Give it a title at the top, and then get writing! That’s pretty much all there is to it. The URL will be created automatically for you. You can give the post some tags, and a category, and on the right, there is the option to save it as a draft (useful if you’re working on a post over several days, or you start an idea and don’t quite finish it), or publish it to the wide world of the internet.
There you have it. Your first blog post.
Categories
As a teacher, you may like to set up different categories for your posts. These can then be made into a menu under “Appearance -> Menus” and will just display the posts that you put into the particular category. Of course, posts can exist under more than one category as well. This post for example is in four categories; Digital Learning, Resources, Teaching, and CENZ.
The categories I have on my site are:
Whenever I have a new idea, I think about what category to put it into. I use each category differently.
Education is for anything education related, but not classroom related. This often leads to media articles, National Standards, politics, NZEI stuff and all the things we deal with that is not to do with teaching.
Teaching is everything related to the classroom and me as a classroom teacher. It includes ideas for the class, lessons, musings, learning, classroom management, and anything else.
Satire is a series of drawings and cartoons, often political, that explore issues in the education system as a whole. They are often sparked by discussions in the staffroom, or cynical musings of my experiences in my school. I have to come up with a better title for this category, but for now, Satire will do.
Teacher Wellbeing is a category set up for the pop-up videos that were made in 2015 as a part of a social network initiative for teachers. I decided to collate all of these and write a short thought around each, based on the short video clip. By making each into a blog post, I essentially archive it on my site so that I (and others) can always find them and refer to them again and again.
Resources is as it sounds; any teaching resources I find, or use, or make, that I think others will find useful.
Google Apps is essentially for thoughts around Google Drive, Google Docs, and all of the other Google Apps. Essentially these are a list of tutorials, but also includes other documents or articles that I’ve written regarding the use of Google Apps in the classroom.
Digital Learning is a category I use for anything ICT and Education related. This includes the use of iPad’s, Chromebooks, or other devices in the classroom, BYOD, twitter in the classroom, and other related ideas.
Finally, CENZ is obviously for the Connected Educator posts that I make, such as this one. This category will keep them all in one place.
Add a Category
Obviously you can choose your own categories. You may have more, or you can have none. You may find that you start with a couple (as I did), and create more as you write more and more articles that don’t fit anywhere in the few categories you initially create. Themes might come along, such as my ‘Teacher Wellbeing‘ category, and may only include a few posts from a specific time, but are valuable regardless.
To create a category, click on ‘Post -> Categories‘. Then it’s as easy as adding a new category. This will then appear in a list on the right of the post text box when you publish a post. Another way to do this is to do it from within the post, by clicking “Add New Category” in the Categories box on the right (above ‘Tags’). The only issue doing it this way is not being able to create the slug – but you can go back and edit this from the main menu as described above.
Be aware however, that the slug (URL) you create needs to be unique. For example, if you have created a page with a particular name, such as “Teaching”, and you try and create a category called “Teaching”, with a slug “teaching”, WordPress will rename this slug to “example.wordpress.com/category/teaching2” which looks horrid. A way around this is to set your category slug to “teaching-articles“. This will then appear as “example.wordpress.com/category/teaching-articles“.
Pages vs. Posts
So there is sometimes some confusion about pages and posts, especially when you first start in WordPress. Here’s how I got my head around it.
Posts are like posters that go up on the staff noticeboard. They go up, they get read. They are somewhat temporary and short-lived, and stay around until someone takes them down and files them. They may then get archived (even if it’s in the round filing cabinet in the corner!).
Pages are like signs. They’re built, and set up reasonably permanently. They have important information that you want read by those that are new to the site, and while they need updating, this only happens once in awhile – if at all.
In wordpress or blogging terms, Posts are your blog ‘articles’. Pages are your permanent pages of your site – such as ‘About’ or ‘Education History’.
Other than that distinction, Posts and Pages are nearly identical in the way WordPress manages them. When you create a page, it’s done in the same way that you create a post. This is probably why many get confused when starting out on wordpress. They will appear differently on your site though, with pages appearing at the root of your site (i.e. example.wordpress.com/page), where as your blog will appear within a category or date archive (i.e. example.wordpress.com/2015/09/post).
That’s about it!
There are many, many more bits and pieces to get set up over the next few weeks, and I’d recommend having a look through the tutorials over at wordpress.com.
Codex.Wordpress.org also has a great knowledge base to hunt through for a more comprehensive run through. Be aware though, that many of the settings mentioned here may be restricted in your free account version at WordPress.com.
Leave a Reply