
Today I introduced the class to Tynker today, three days before the end of the year! Probably should have got them hooked on it well before now. But regardless, there’s not time like the present for trying things out and experimenting, so that you can implement something for next year’s class!
What’s more, is with Tynker, it was relatively simple to get started.
Getting Started
- Head to www.tynker.com
- Sign up for a teacher account. I used my school email address, but any is available. You can also sign up using Google or Facebook accounts.
- Once you’ve signed up, it will have created a default class. I created a new one, and got the class code.
- Get your students to go to tynker.com/schools and then they should click “Sign Up” for a student account. They can sign up using their Google account if you use Chromebooks at your school.
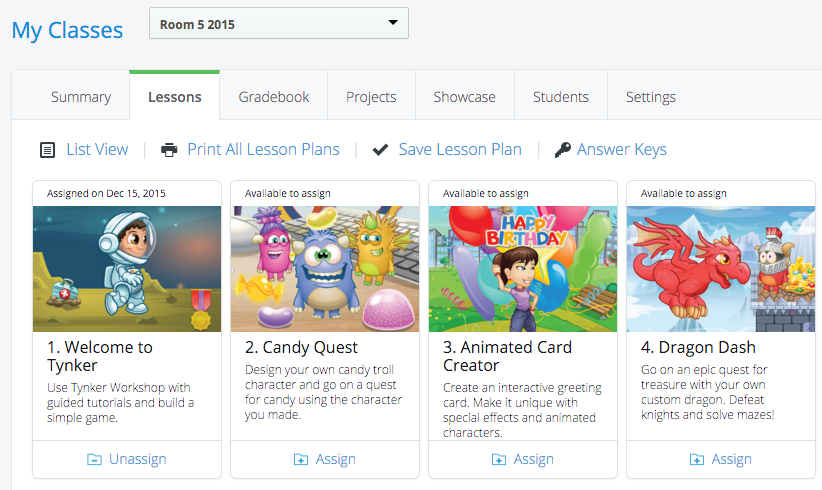
- Once in, the students can get involved. I clicked on the “Lessons” section of the dashboard.
- Click on “Assign” to give students access to getting started with Tynker. Make sure you remind students to read the instructions that are given. There are limited options, but then I do only have the free account version.
And that’s about it. You’re in. You’ve got them started!
How it works
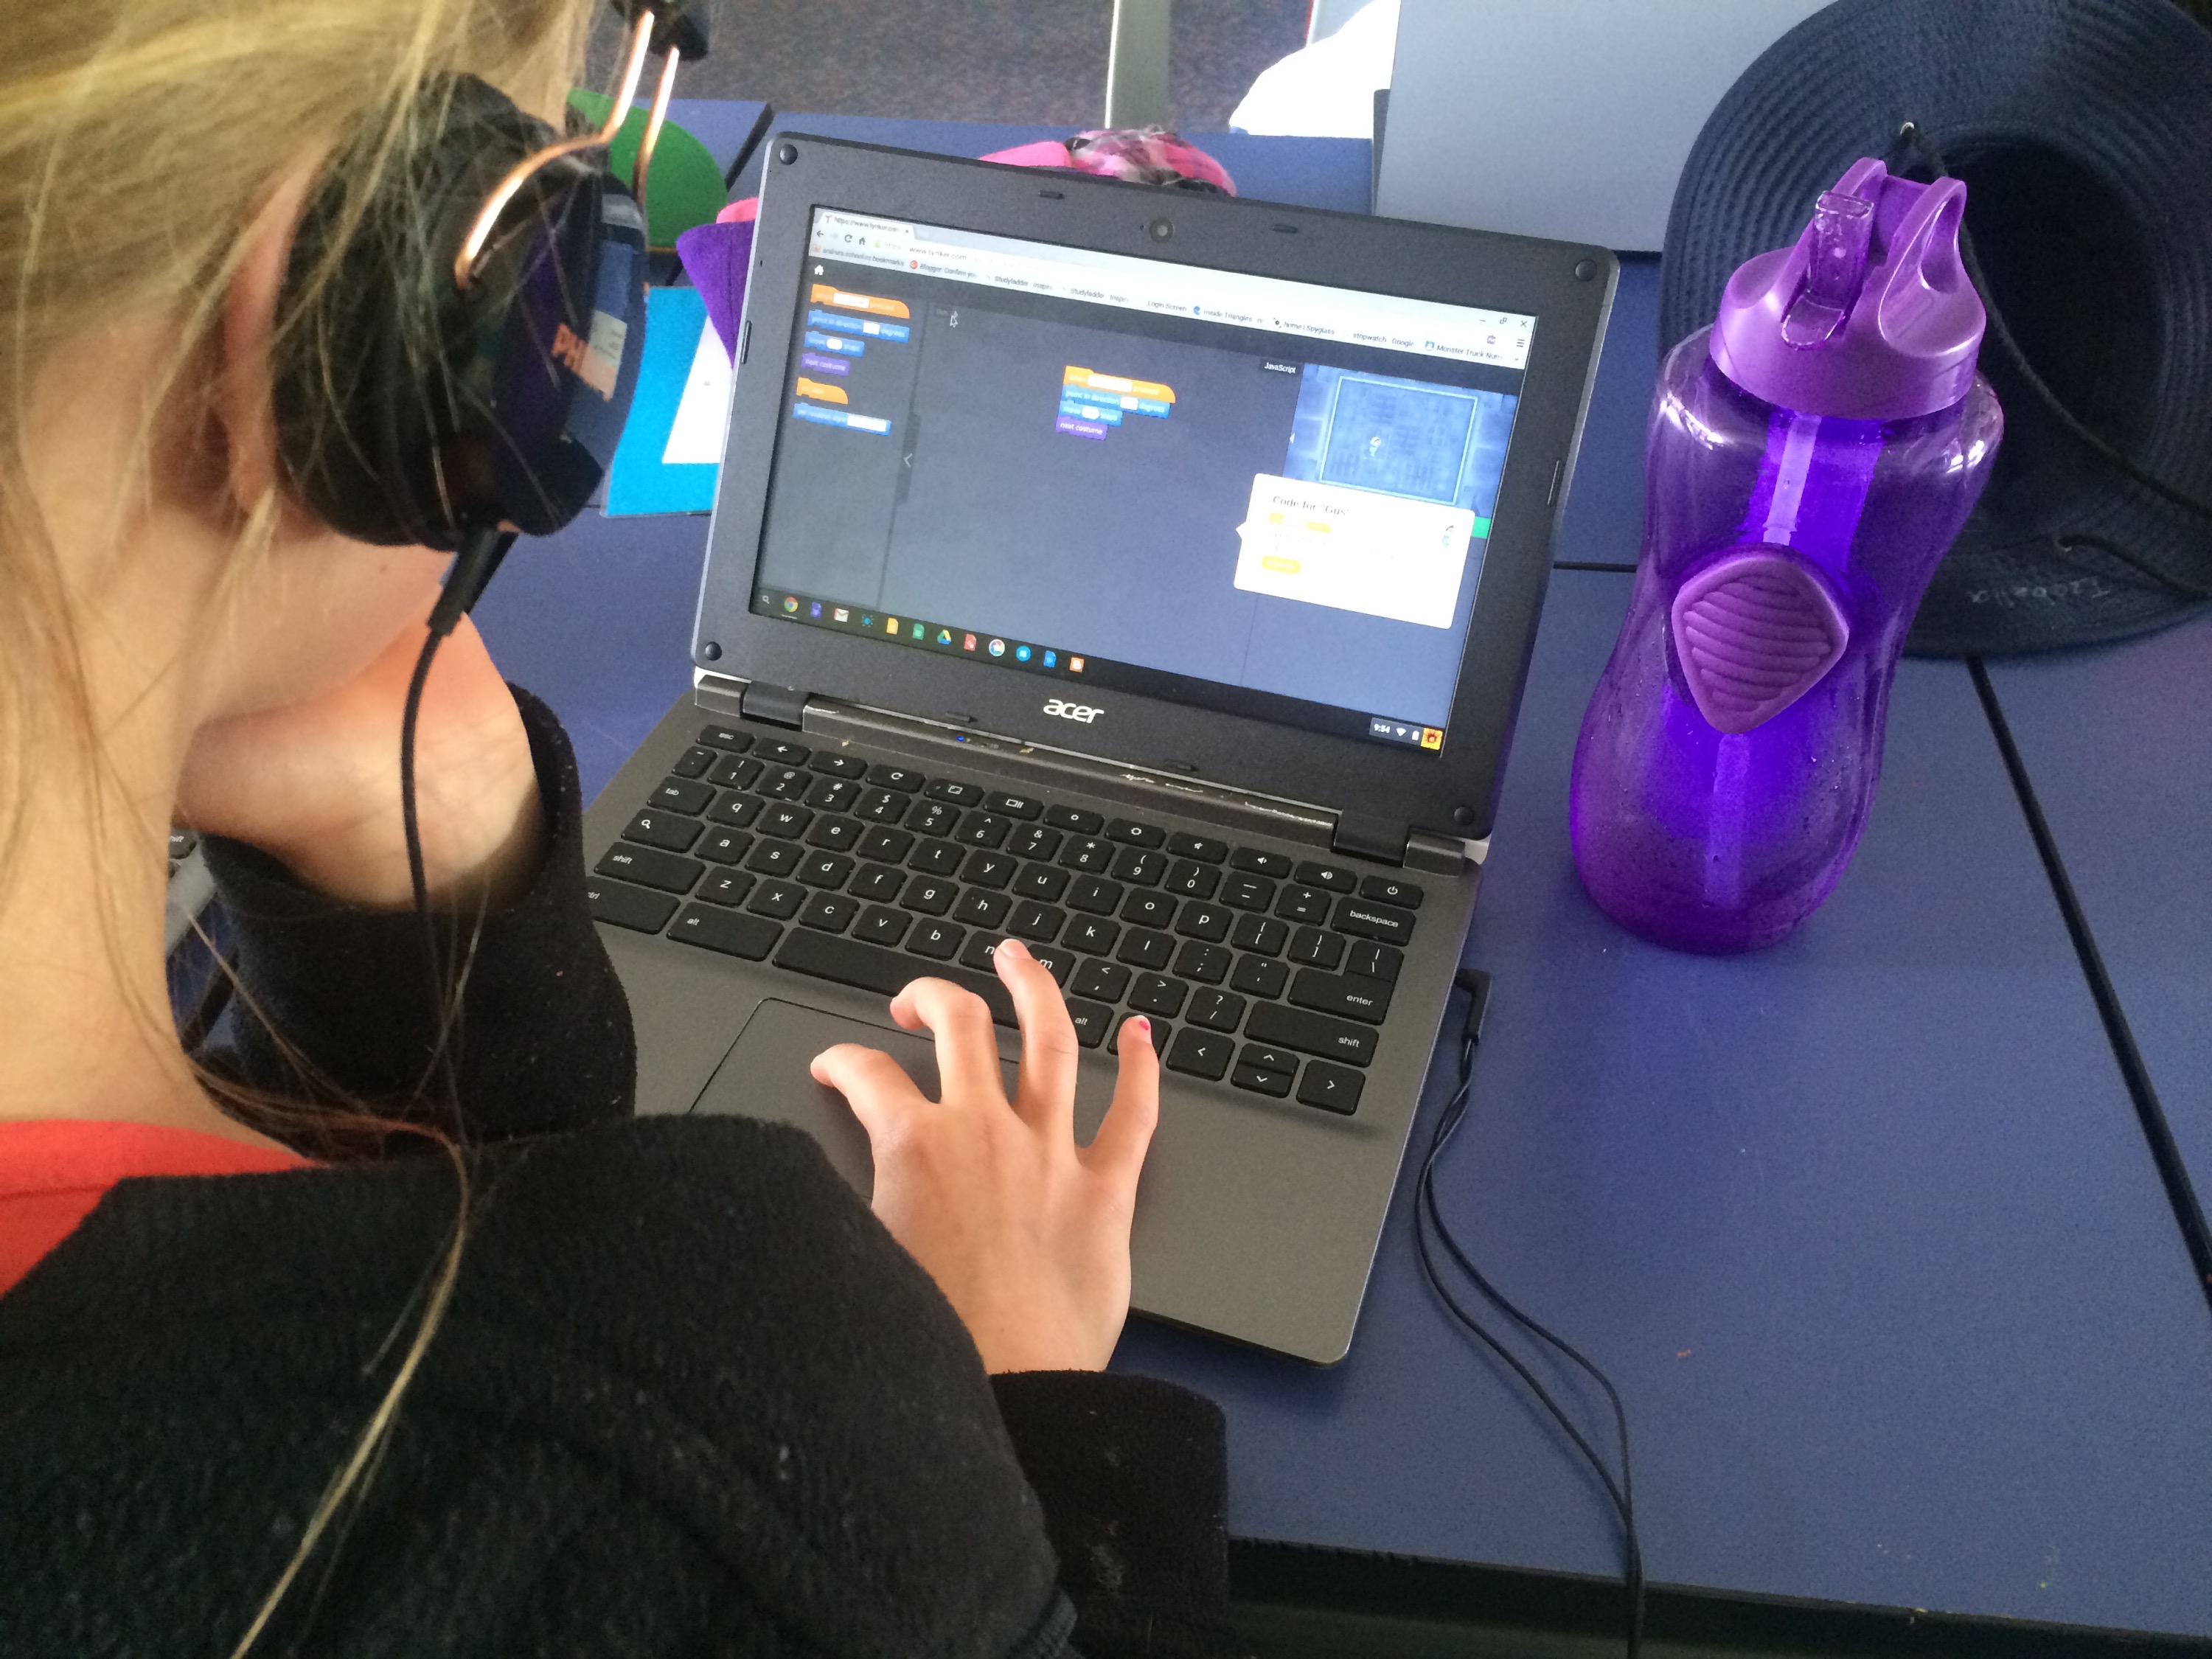
Once the students are signed in there are a couple of things they should do. Firstly, they should be reminded to read and follow the instructions. Many will be so keen and ‘gun-ho’ that they’ll skip past the tutorials to get to the ‘fun stuff’, and in the process, not know what to do.
As the teacher, I recommend assigning the “Welcome to Tynker” workshop as per the instructions in step 6.

Inside “Welcome to Tynker”, students will be taken through a series of tutorials that gets them working with characters, controlling them with their keyboards, and assigning sounds.
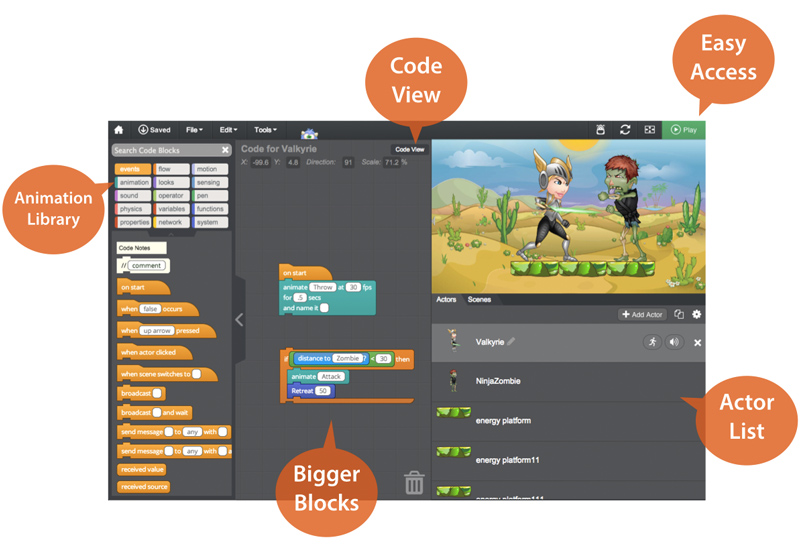
It then works through adding “enemies”, and “rewards” to create the basis of a game.
Students will be shown basic actions that they can drag over to the working area that then applies to the game or programme that they are making. These are completely customisable to allow for different characters to do different things. Animations, sounds, movement, key presses; all of them are able to be used to create a different part of the game. It even allows loops of actions to be repeated a number of times or loop when a particular event happens.
And that’s about as far as we got! It definitely has a lot of options, and for motivated students, I could imagine that this would be very beneficial.
As a coder myself, I can see how the blocks being placed together translates into sections of code that achieve different parts. The correlation between what the student creates in a series of instructions and what it makes the characters do is very clear, and very well understood.
Hour of Code
As part of the Hour of Code initiative, Tynker has opened up a variety of activities that encourage the same kind of coding and programming skills. There are different levels, from beginner to intermediate, and a range of ‘worlds’, from Hot Wheels, to Candy Quest.
If you know more about this, please leave a comment or two in the comments section below to add more information to this blog post!
Leave a Reply